
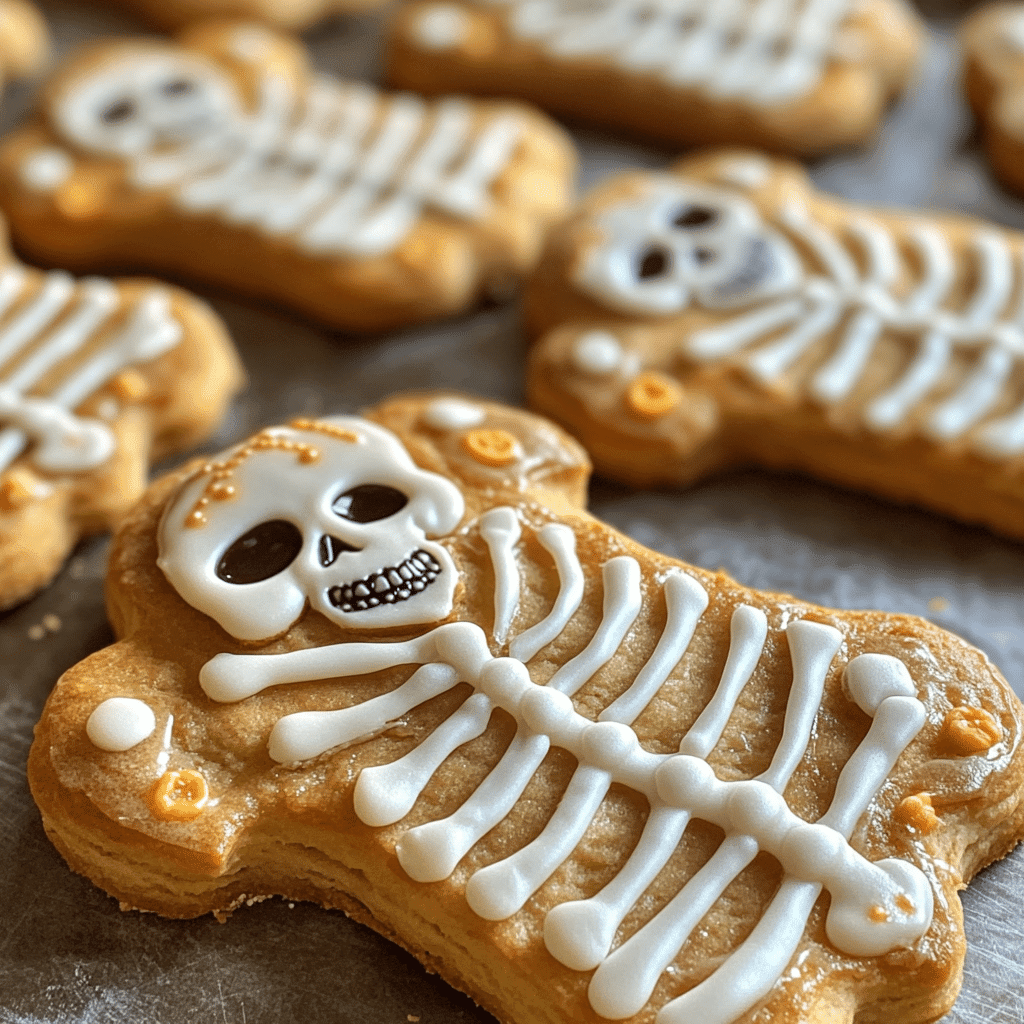
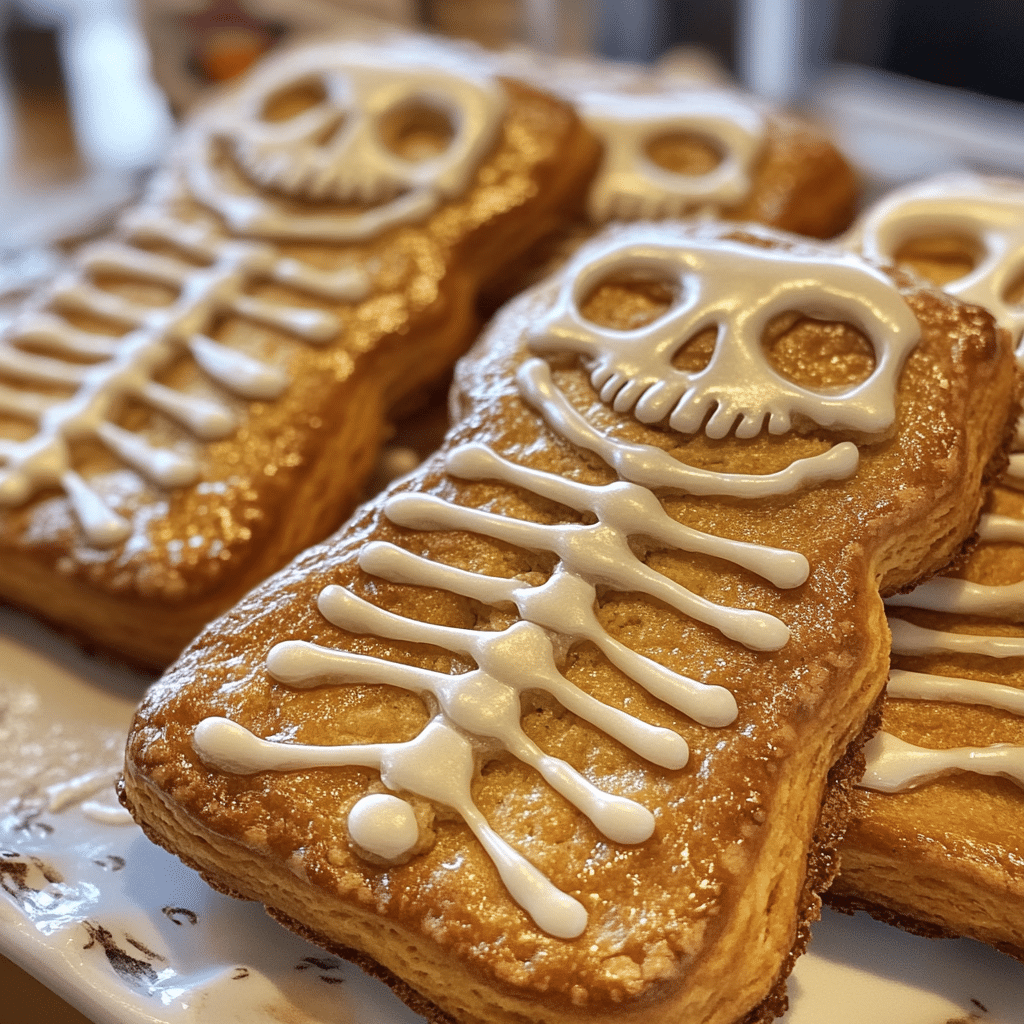
Have you ever made a treat that not only tasted amazing but also got everyone talking? That’s exactly what happens when I whip up my renowned Skeleton Biscuits! Trust me, after making these spooky delights countless times, they have become a staple in my home, especially as Halloween approaches. Their crispy texture and hauntingly cute skeleton shapes make them a hit at parties and gatherings. You’ll find your friends and family eagerly reaching for these delectable biscuits, their eyes lighting up with delight. So, let’s dive into the world of Skeleton Biscuits and get ready for some spooky fun!
Why You’ll Love This Skeleton Biscuits
- Easy to Make: With simple ingredients and straightforward steps, anyone can master this recipe.
- Visually Appealing: The skeleton shapes are not just cute; they add a festive touch to your Halloween celebrations.
- Deliciously Crispy: Each bite is a delightful crunch that will leave everyone wanting more.
- Perfect for All Ages: Kids and adults alike will enjoy these spooky treats, making them great for family fun!
- Make-Ahead Convenience: You can prepare the dough in advance, making last-minute baking a breeze.
The Secret to Perfect Skeleton Biscuits
The key to achieving the perfect Skeleton Biscuits lies in the dough’s consistency and how you roll it out. I’ve found that chilling the dough for about 30 minutes before rolling helps to keep the biscuits from spreading too much in the oven. This way, your skeleton shapes stay intact and look adorable! Also, using a good quality rolling pin and a smooth surface makes a world of difference. Trust me, with these insider tips, you’ll feel like a baking pro in no time!
Rave Reviews from Friends and Followers
“These Skeleton Biscuits are not only fun to make but also super delicious! My kids loved them, and they were the highlight of our Halloween party!” – Sarah M.
“I was shocked at how easy these were to make! I brought them to work, and they disappeared in minutes. Definitely a new favorite!” – Tom R.
“I can’t believe I made something this cute and tasty! The skeleton shapes were a hit with the kids, and they loved helping me decorate them!” – Jessica L.
Creative Variations to Try
- Chocolate Skeleton Biscuits: Add cocoa powder to the dough for a rich chocolate flavor.
- Spiced Pumpkin Skeletons: Incorporate pumpkin puree and spices like nutmeg and cinnamon for a seasonal twist.
- Gluten-Free Skeletons: Substitute regular flour with a gluten-free blend for a tasty alternative.
- Decorative Icing Variations: Use colored icing to add fun designs and personalize each biscuit.
Bonus: You can even add a hint of orange or lemon zest to the dough for a refreshing citrus flavor!
FAQs – All Your Questions Answered!
How should I store my Skeleton Biscuits?
Once cooled, store them in an airtight container at room temperature for up to a week. They’ll stay deliciously crispy!
Can I substitute any ingredients?
Absolutely! You can use any type of flour or sweetener that you prefer. Just keep in mind that it may alter the texture slightly.
What if my dough is too sticky?
If you find your dough is too sticky to handle, don’t hesitate to add a little more flour as you knead it. Just be careful not to add too much!
How long does it take to bake?
Typically, the biscuits take about 10-12 minutes in the oven. Keep an eye on them; they should be golden brown but not overbaked.
Storage/Serving Tips
- Store in an airtight container to maintain their crispiness.
- They can be kept at room temperature for up to a week.
- Pair with a spooky-themed hot chocolate or a festive punch for serving.
Perfect Occasions for Skeleton Biscuits
- Halloween parties
- School bake sales
- Family movie nights with spooky films
- Playdates with kids
- Office Halloween celebrations
- Fall festivals
The Complete Recipe
Thank you for sticking with me through the excitement! Now, let’s get to the fun part: the actual recipe for these deliciously spooky Skeleton Biscuits.
Skeleton Biscuits
Ingredients
- 2 cups all-purpose flour
- 1 cup unsalted butter, softened
- 1 cup granulated sugar
- 1 large egg
- 1 tsp vanilla extract
- 1/2 tsp baking powder
- 1/4 tsp salt
Tip: For a richer flavor, use brown sugar instead of granulated sugar. It adds a lovely caramel note to the biscuits!
Optional Add-Ins: You can toss in some mini chocolate chips or chopped nuts for added texture. Each ingredient plays a crucial role in flavor and texture, ensuring these biscuits are perfectly crispy!
Step-by-Step Instructions
Step 1: Prepare the Dough
In a large mixing bowl, cream together the softened butter and sugar until light and fluffy. This should take about 3-5 minutes. The air you beat in will help create a light cookie texture. Add in the egg and vanilla extract, mixing until well combined.
Step 2: Mix the Dry Ingredients
In another bowl, whisk together the flour, baking powder, and salt. Gradually add the dry ingredients to the wet mixture, stirring until a dough forms. You want the dough to be soft but not sticky – it should hold its shape well.
Step 3: Chill the Dough
Wrap the dough in plastic wrap and chill it in the refrigerator for at least 30 minutes. This step is crucial to prevent the biscuits from spreading too much while baking.
Step 4: Roll and Cut the Dough
Preheat your oven to 350°F (175°C). Once the dough is chilled, lightly flour your work surface and roll it out to about 1/4 inch thick. Use a skeleton cookie cutter to cut out shapes and place them on a baking sheet lined with parchment paper.
Step 5: Bake the Biscuits
Bake in the preheated oven for 10-12 minutes, or until the edges are lightly golden. Keep an eye on them; you want them to be crispy but not burnt. As they bake, your kitchen will fill with an irresistible aroma!
Step 6: Cool and Decorate
Once baked, let the biscuits cool on a wire rack. When they are completely cool, get creative with icing! You can use white icing for a ghostly look or colored icing for added fun.
Nutrition Info (per biscuit): Approximately 120 calories, 6g fat, 15g carbohydrates, 1g protein.
Extra Guidance: If you have trouble with the dough sticking, try rolling it between two sheets of parchment paper. It makes transferring the shapes so much easier!
Final Thoughts
And there you have it! My beloved Skeleton Biscuits that are sure to bring spooky joy to any gathering. With their fun shapes and delicious flavor, they’re perfect for Halloween or any festive occasion. I can’t wait for you to try these out; I promise they’ll be a game-changer at your next celebration! Happy baking, and enjoy every crispy bite!
Related Recipes You’ll Love :


