
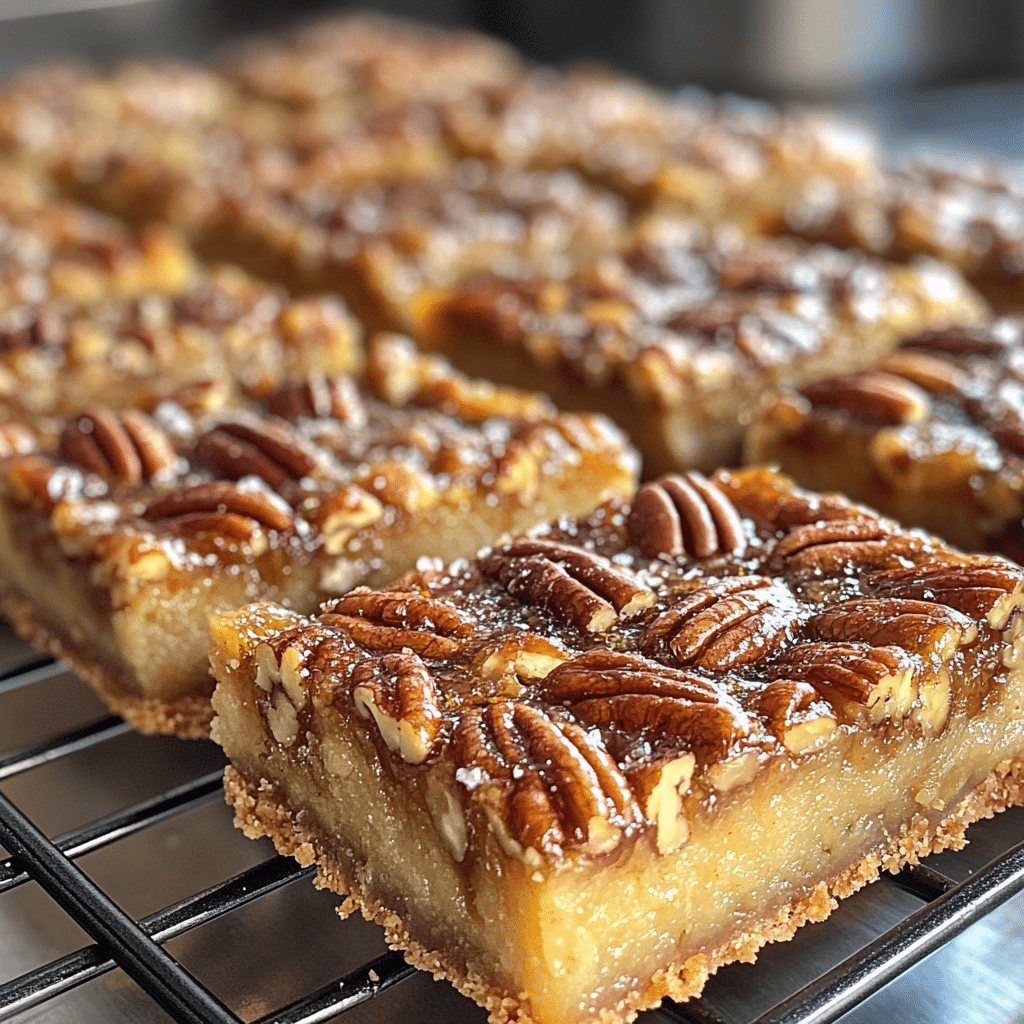
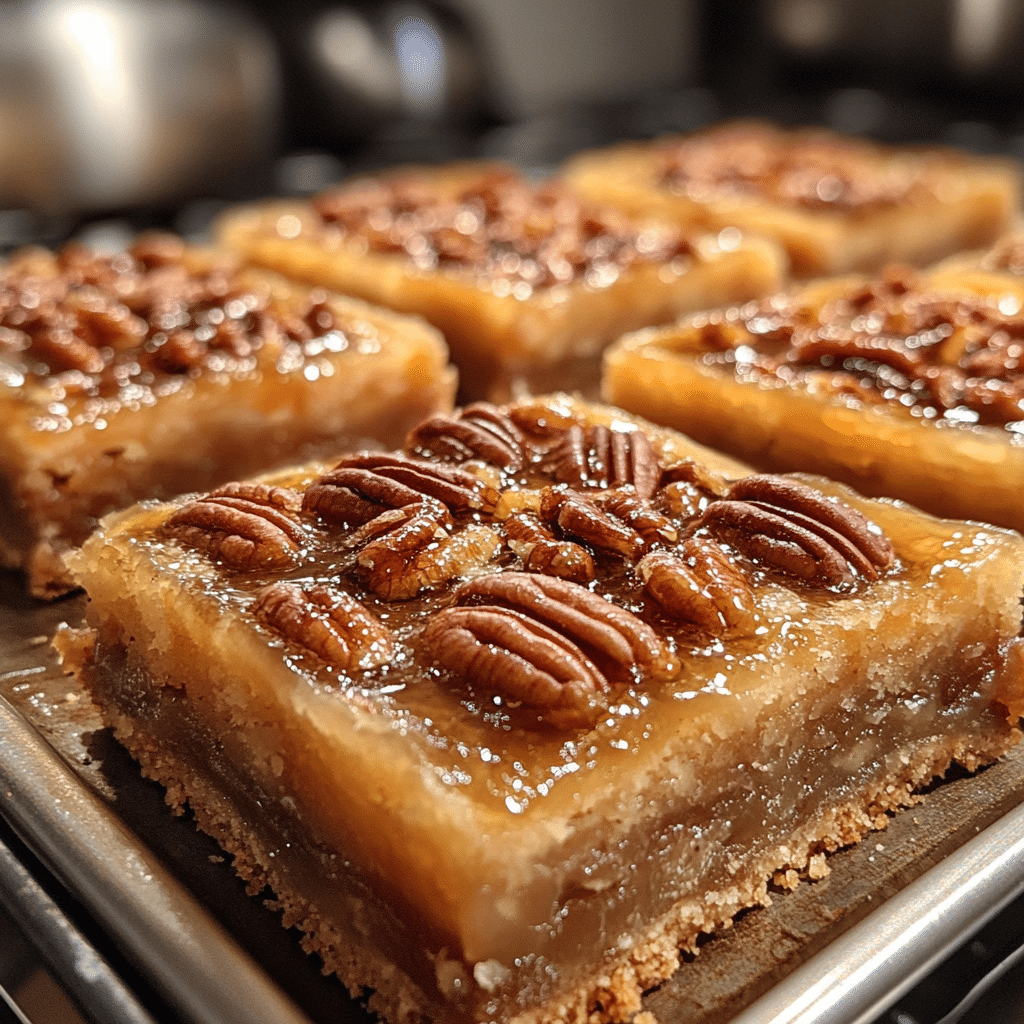
Let me tell you about one of my all-time favorite desserts: Maple Pecan Bars! I first made these delightful treats for a family gathering, and they were an instant hit! Since then, I think I’ve made them at least a dozen times, and every time, they disappear faster than I can slice them! Trust me, once you take a bite of that buttery crust topped with a luscious maple and pecan filling, you’ll understand why everyone loves them. The best part? They come together so easily, making them the perfect addition to any occasion!
Why You’ll Love This Maple Pecan Bars
- Easy to Make: This recipe requires minimal effort and simple ingredients, so you can whip them up in no time.
- Versatile: Perfect for any occasion — from casual get-togethers to elegant dinner parties.
- Incredibly Delicious: The combination of sweet maple syrup and crunchy pecans creates a flavor explosion that will have you coming back for more.
- Visually Appealing: With their golden crust and shiny topping, these bars are as beautiful as they are tasty.
- Make-Ahead Convenience: You can prepare them ahead of time, making them a stress-free dessert option.
The Secret to Perfect Maple Pecan Bars
The key to achieving the best Maple Pecan Bars lies in the quality of your ingredients and a few insider tips. First, use pure maple syrup instead of the imitation stuff; it makes all the difference in flavor. I’ve found that toasting the pecans before adding them to the filling enhances their nuttiness and crunch. And don’t forget to sprinkle a hint of sea salt on top! It brings out the sweetness of the maple and balances the richness beautifully. Trust me, these small details elevate your bars from good to absolutely phenomenal!
Rave Reviews from Friends and Followers
“These Maple Pecan Bars are a game-changer! I brought them to a potluck, and everyone asked for the recipe!” – Sarah M.
“I made these for my book club, and they were gone in minutes. So delicious and easy to make!” – Jason L.
“I can’t believe how simple these bars are! They taste like they came from a bakery!” – Laura T.
Creative Variations to Try
- Chocolate Chip Maple Pecan Bars: Add a handful of semi-sweet chocolate chips to the filling for a chocolatey twist.
- Cinnamon Maple Pecan Bars: Sprinkle in a teaspoon of cinnamon to the filling for a warm, spiced flavor.
- Maple Bacon Pecan Bars: Crumble crispy bacon on top for a sweet and savory combination that will blow your mind!
- Nut-Free Maple Pecan Bars: Substitute sunflower seeds for pecans if you’re avoiding nuts — still delicious!
Bonus: Drizzle some melted chocolate over the top for an elegant finish!
FAQs – All Your Questions Answered!
Can I use a different nut? Absolutely! Feel free to substitute walnuts or almonds for pecans if you prefer.
How do I store leftover bars? Keep them in an airtight container at room temperature for up to 5 days.
Can I freeze these bars? Yes! You can freeze them for up to 3 months. Just make sure to wrap them well in plastic wrap and then foil.
What should I do if my filling is too runny? If your filling isn’t setting properly, try baking the bars a little longer. Keep an eye on them to avoid burning.
Storage/Serving Tips
- Store in an airtight container at room temperature for up to 5 days.
- For longer storage, freeze in individual portions, wrapped tightly.
- Serve them warm with a scoop of vanilla ice cream for a truly indulgent treat!
Perfect Occasions for Maple Pecan Bars
- Family gatherings and holiday feasts.
- Bake sales and potlucks.
- Casual get-togethers with friends.
- As a sweet surprise for your coworkers.
- Brunch parties or breakfast treats.
- Picnics and outdoor events.
- Any day you want to treat yourself!
The Complete Recipe
Thanks for sticking with me! I can’t wait for you to try making these Maple Pecan Bars. Let’s get to the good stuff!
Maple Pecan Bars
Ingredients
- 1 cup all-purpose flour
- 1/2 cup unsalted butter, softened
- 1/4 cup brown sugar
- 1/4 teaspoon salt
- 1 cup maple syrup
- 2 large eggs
- 1 cup pecans, chopped and toasted
- 1 teaspoon vanilla extract
- Optional: Sea salt for sprinkling on top
Tip: Make sure to toast the pecans in a dry skillet over medium heat for about 5 minutes, stirring frequently. This will bring out their flavor and crunch!
Step-by-Step Instructions
Step 1: Preheat the Oven
Preheat your oven to 350°F (175°C). This ensures that your bars cook evenly and develop that irresistible golden brown color.
Step 2: Prepare the Crust
In a mixing bowl, beat together the softened butter, brown sugar, flour, and salt until well combined. The mixture should be crumbly but hold together when pressed. Spread it evenly into the bottom of a greased 8×8 inch baking dish and press it down firmly. Bake for 15 minutes until lightly golden.
Step 3: Make the Filling
While the crust is baking, whisk together the maple syrup, eggs, and vanilla extract in a separate bowl. Stir in the toasted pecans until everything is well mixed. The filling should be smooth and slightly thickened.
Step 4: Combine and Bake
Once the crust is done, pour the pecan filling over the warm crust, spreading it evenly. Bake for an additional 25-30 minutes, or until the filling is set and slightly puffed. Your kitchen will smell heavenly during this time!
Step 5: Cool and Serve
Allow the bars to cool completely in the pan before cutting them into squares. For an extra touch, sprinkle a little sea salt on top just before serving. Enjoy the beautiful balance of sweet and salty!
Nutrition info (per bar): Approximately 200 calories, 10g fat, 25g carbohydrates, 3g protein.
Final Thoughts
And there you have it! My ultimate recipe for Maple Pecan Bars. These treats are a true crowd-pleaser and will surely impress anyone lucky enough to have a bite. I can promise you that the combination of flavors and textures will make your taste buds dance! So what are you waiting for? Grab your ingredients and get baking; your new favorite dessert is just a few steps away!
Related Recipes You’ll Love :


