

Have you ever stumbled upon a dish that just makes you feel instantly at home? That’s exactly how I feel about Kimchi Fried Rice with Egg. I’ve made this dish countless times, and it never fails to bring a smile to my face! The bold flavors, the comforting warmth, and the satisfaction of creating something so delicious in just one pan—it’s a total game-changer! Whether it’s a busy weeknight or a lazy weekend lunch, this recipe has become a staple in my kitchen, and trust me, it will be in yours too!
Why You’ll Love This Kimchi Fried Rice with Egg
- Quick and Easy: This recipe comes together in just about 20 minutes, making it perfect for those hectic days.
- Flavor-Packed: The spicy, tangy notes of kimchi combined with savory rice and a luscious egg will tantalize your taste buds.
- Versatile: You can customize it with different proteins or veggies, making it your own creation every time.
- Visually Appealing: The vibrant colors of the dish are sure to impress anyone at your table.
- Make-Ahead Convenience: This dish stores well, making leftovers a delightful option for lunch or dinner.
The Secret to Perfect Kimchi Fried Rice with Egg
Now, let me share the secret that elevates this Kimchi Fried Rice with Egg from good to unforgettable. The key lies in using well-fermented kimchi. Trust me, the depth of flavor that comes from aged kimchi is unmatched! It adds a tangy punch and a bit of umami that makes the fried rice sing. A tip from my own experience: make sure to squeeze out any excess liquid from the kimchi before adding it to the pan. This helps prevent the rice from becoming soggy, ensuring that each grain stays separate and fluffy. You’ve got this!
Rave Reviews from Friends and Followers
“This Kimchi Fried Rice with Egg is my new favorite dish! I can’t believe how easy it was to make. My kids love it too!” – Sarah J.
“I whipped this up for my friends, and they were blown away! The flavors are so vibrant; I’ll definitely be making it again.” – Mike T.
“I’m not a great cook, but this recipe was super straightforward. It turned out amazing! Thank you for sharing!” – Emma L.
Creative Variations to Try
- Protein-Packed: Add diced chicken, shrimp, or tofu to amp up the protein content.
- Veggie Delight: Toss in some peas, carrots, or bell peppers for extra nutrition and color.
- Cheesy Twist: Sprinkle some shredded cheese on top before serving for a gooey, delicious finish.
- Spicy Kick: For those who like it hot, add a dash of gochujang or sriracha for an extra spice boost.
- Bonus Tip: Try using brown rice instead of white for a healthier, nuttier version!
FAQs – All Your Questions Answered!
Can I use leftover rice for this recipe? Yes! In fact, day-old rice works best as it’s drier and less likely to clump together.
How do I store leftovers? Store in an airtight container in the fridge for up to 3 days. Reheat in a skillet for best results.
Can I substitute the egg? Absolutely! Try a vegan egg substitute or even skip it altogether if you prefer a lighter version.
What kind of kimchi should I use? Look for well-fermented kimchi for the best flavor. You can find it in the international aisle of most grocery stores or at Asian markets.
Can I freeze Kimchi Fried Rice? Yes, it can be frozen for up to a month. Just make sure to cool it completely before sealing it in a freezer-safe container.
Storage/Serving Tips
- Store leftovers in an airtight container in the refrigerator for up to 3 days.
- Reheat in a pan over medium heat to retain the texture of the rice.
- Serve with a drizzle of sesame oil for added flavor.
- Top with sliced green onions for a fresh crunch.
Perfect Occasions for Kimchi Fried Rice with Egg
- Busy weeknights when you need something quick and delicious.
- Weekend brunches where you want to impress your friends.
- Meal prep Sundays for easy lunches throughout the week.
- Casual get-togethers when you want to serve something unique.
- Late-night cravings that need satisfying!
The Complete Recipe
Now that you’re all pumped up about making this dish, let’s dive into the recipe!
Kimchi Fried Rice with Egg
Ingredients
- 2 cups of cooked rice (preferably day-old)
- 1 cup of well-fermented kimchi, chopped
- 2 tablespoons of vegetable oil
- 2 eggs
- 2 green onions, sliced
- 1 tablespoon of soy sauce (or to taste)
- 1 teaspoon of sesame oil
- Optional: protein of choice (chicken, shrimp, tofu)
- Tip: Use short-grain rice for a chewier texture, or jasmine rice for a fragrant aroma.
Step-by-Step Instructions
Step 1: Prepare Your Rice
If you’re using leftover rice, break up any clumps with your fingers. This allows for even cooking later. If you’re cooking fresh rice, make sure to let it cool completely before using.
Step 2: Sauté the Kimchi
In a large skillet or wok, heat 1 tablespoon of vegetable oil over medium heat. Add the chopped kimchi and sauté for about 3-4 minutes until it’s heated through and fragrant. This step is crucial; the heat will release all those wonderful flavors!
Step 3: Add the Rice
Now, add the cooked rice to the skillet. Break apart any remaining clumps and mix it well with the kimchi. Drizzle in the soy sauce and sesame oil, and continue to stir-fry for another 5-7 minutes. The rice should be heated through and slightly crispy.
Step 4: Cook the Eggs
In a separate pan, heat the remaining tablespoon of vegetable oil. Crack the eggs into the pan and fry them sunny-side up or to your preferred doneness. This adds a lovely richness to the dish!
Step 5: Assemble and Serve
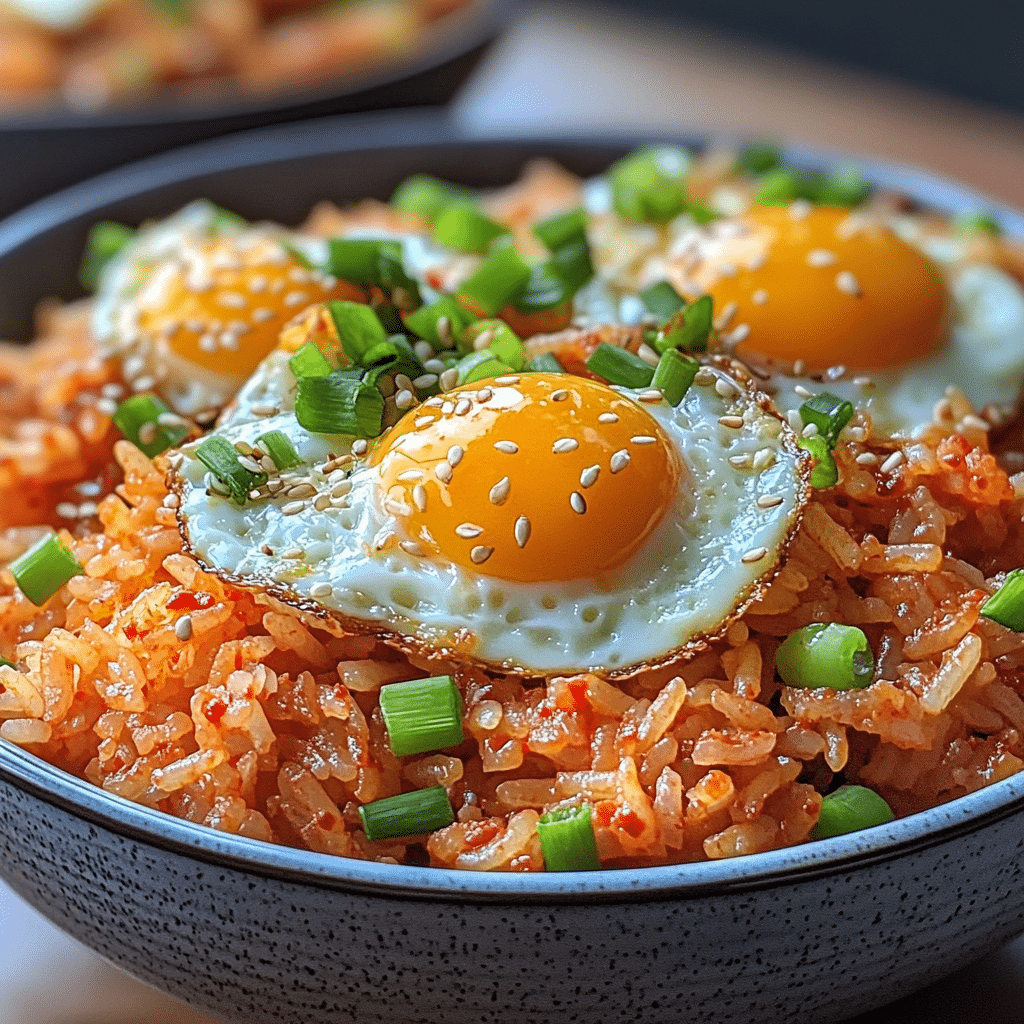
Once everything is cooked, plate the kimchi fried rice and top it with the fried eggs. Garnish with sliced green onions. Now, take a moment to appreciate how beautiful it looks! You did it—enjoy your masterpiece!
Nutrition Info: This dish is packed with flavor and a good balance of protein, carbs, and healthy fats, making it a nutritious and satisfying meal.
Final Thoughts
And there you have it! This Kimchi Fried Rice with Egg is not just easy and quick; it’s an explosion of flavors that you’ll want to make again and again. Trust me, once you try it, you’ll understand why it has a permanent spot in my recipe book. I can’t wait for you to experience the joy of making this dish. So roll up your sleeves and dive into this culinary adventure—you’ll love it!
Related Recipes You’ll Love :


