
I can’t even begin to tell you how many times I’ve made these delightful layered mason jar desserts! They are a total game-changer in my kitchen. Every time I whip them up, I am amazed at how easy they are to create and how much my friends and family rave about them. Trust me, once you try making these, you’ll find yourself reaching for your mason jars again and again for every occasion. The best part? They look stunning and taste even better!
Why You’ll Love This Mason Jar Dessert
- Effortless Preparation: These desserts are super simple to assemble, making them perfect for beginners and seasoned bakers alike.
- Endless Versatility: You can customize them with your favorite flavors and toppings, so there’s always something new to try!
- Visual Appeal: Who can resist a beautifully layered dessert in a jar? They are as pretty as they are delicious!
- Make-Ahead Convenience: Prepare them in advance for any gathering, saving you time on the big day.
- Portion Control: The jars make perfect single servings, so you can indulge without going overboard.
The Secret to Perfect Mason Jar Desserts
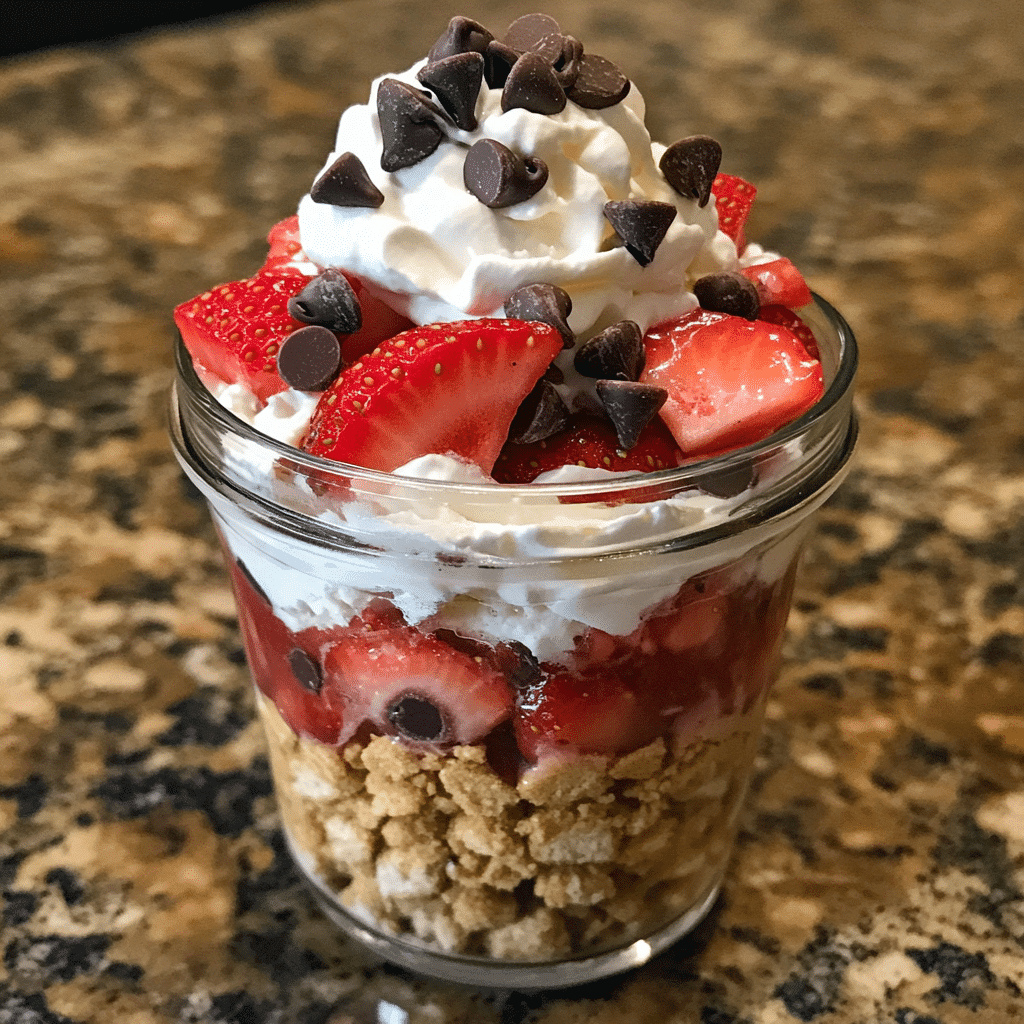
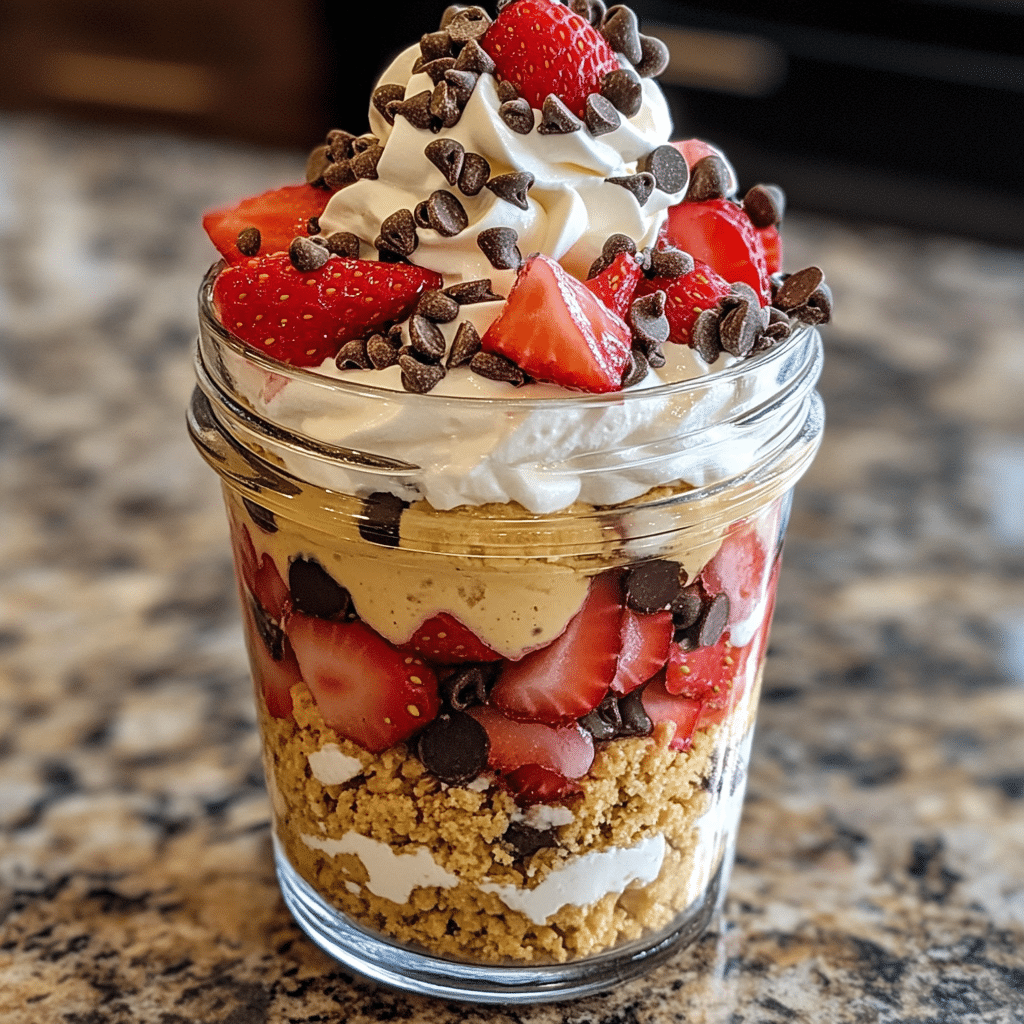
The secret to creating perfect mason jar desserts lies in the layering technique and the quality of your ingredients. Using fresh fruits, rich creams, and flavorful bases will elevate your dessert game. Trust me, it’s all about balancing flavors and textures. Start with a sturdy base like crumbled cookies or cake at the bottom, followed by creamy layers and fresh fruits. This not only tastes amazing but also looks gorgeous when you see all those beautiful layers through the glass!
A little tip from my experience: don’t be afraid to mix and match flavors. You can create a delightful surprise in each bite! And remember, letting your dessert chill for at least an hour before serving allows the flavors to meld beautifully.
Rave Reviews from Friends and Followers
“These mason jar desserts are a hit at every party! I can’t believe how easy they are to make.” – Sarah M.
“I made these for a family gathering, and everyone was asking for the recipe! They look so fancy!” – Tom R.
“I love how I can prep these ahead of time. They’re perfect for my busy schedule!” – Jenna L.
Creative Variations to Try
- Chocolate Delight: Layer chocolate pudding with whipped cream and crushed Oreos for a rich treat.
- Berry Bliss: Use mixed berries, vanilla yogurt, and granola for a fresh and healthy option.
- Banana Split: Layer banana slices, chocolate sauce, and whipped cream for a fun twist on the classic dessert.
- Peanut Butter Dream: Combine peanut butter mousse with banana and graham cracker crumbs for a decadent experience.
Bonus: Don’t forget to add a drizzle of sauce or a sprinkle of nuts on top for that extra wow factor!
FAQs – All Your Questions Answered!
How long can I store these mason jar desserts?
Typically, they can be stored in the fridge for up to 4-5 days. Just keep the lids on to maintain freshness!
Can I use frozen fruits?
Absolutely! Just ensure they are thawed and drained before layering to avoid excess moisture in your dessert.
What can I substitute if I don’t have mason jars?
You can use any clear glass containers! Just make sure they are microwave-safe if you plan on warming any layers.
Can I make these desserts vegan?
Yes! Substitute dairy products with coconut cream, almond milk, or any plant-based alternatives to make them vegan-friendly.
Storage/Serving Tips
- Keep your mason jar desserts sealed in the fridge for optimal freshness.
- For best flavor, serve within 3-4 days of preparation.
- Layer the ingredients right before serving if possible to maintain texture, especially with fruits.
Perfect Occasions for Mason Jar Desserts
- Birthday parties – they make great take-home favors!
- Picnics – easy to transport and serve.
- Weddings – beautiful centerpiece desserts that guests will love.
- Family gatherings – a fun way to present dessert for everyone.
- Holiday celebrations – customize them with seasonal flavors!
The Complete Recipe
Thanks for sticking with me! Now let’s dive into how to make these delightful mason jar desserts.
Mason Jar Desserts
Ingredients
- 1 cup crushed graham crackers
- 2 cups whipped cream
- 1 cup fresh strawberries, diced
- 1 cup vanilla pudding
- 1/2 cup chocolate chips (optional)
Tip: You can substitute graham crackers with crushed cookies or cake for different flavor profiles!
Step-by-Step Instructions
Step 1: Prepare the Base
Start by crushing your graham crackers until they are fine crumbs. This will provide a delicious base for your dessert. You can use a food processor or simply place them in a ziplock bag and crush them with a rolling pin. It should take about 5 minutes.
Step 2: Layer the Ingredients
In your mason jars, begin with a layer of the crushed graham crackers. Use about 1/4 cup per jar. Press down gently to create a solid base.
Step 3: Add the Pudding
Next, layer in a generous scoop (about 1/3 cup) of vanilla pudding on top of the graham cracker base. This will add creaminess and flavor!
Step 4: Fresh Fruit Layer
Now, add a layer of diced strawberries (or your chosen fruit). Use about 1/4 cup per jar. This will not only taste amazing but also add a pop of color!
Step 5: Whipped Cream Topping
Top off your jars with a generous dollop of whipped cream. You can use store-bought or make your own! This layer brings it all together.
Step 6: Finish with a Crunch
If you’re feeling adventurous, sprinkle some chocolate chips on top for that extra indulgence. Seal your jars and refrigerate for at least an hour before serving.
Your delightful mason jar desserts are ready to impress! Enjoy them at your next gathering and watch your friends rave about your culinary skills. Each jar offers a perfect balance of flavors and textures that will leave everyone wanting more.
Final Thoughts
I hope you’re as excited as I am to try these delightful layered mason jar desserts! They are truly special, combining simplicity and elegance in one delicious package. Whether you’re hosting a party or just treating yourself, these desserts are sure to impress. So gather your ingredients, grab some mason jars, and get ready to create something amazing. You’ll love how easy and fun they are to make!