
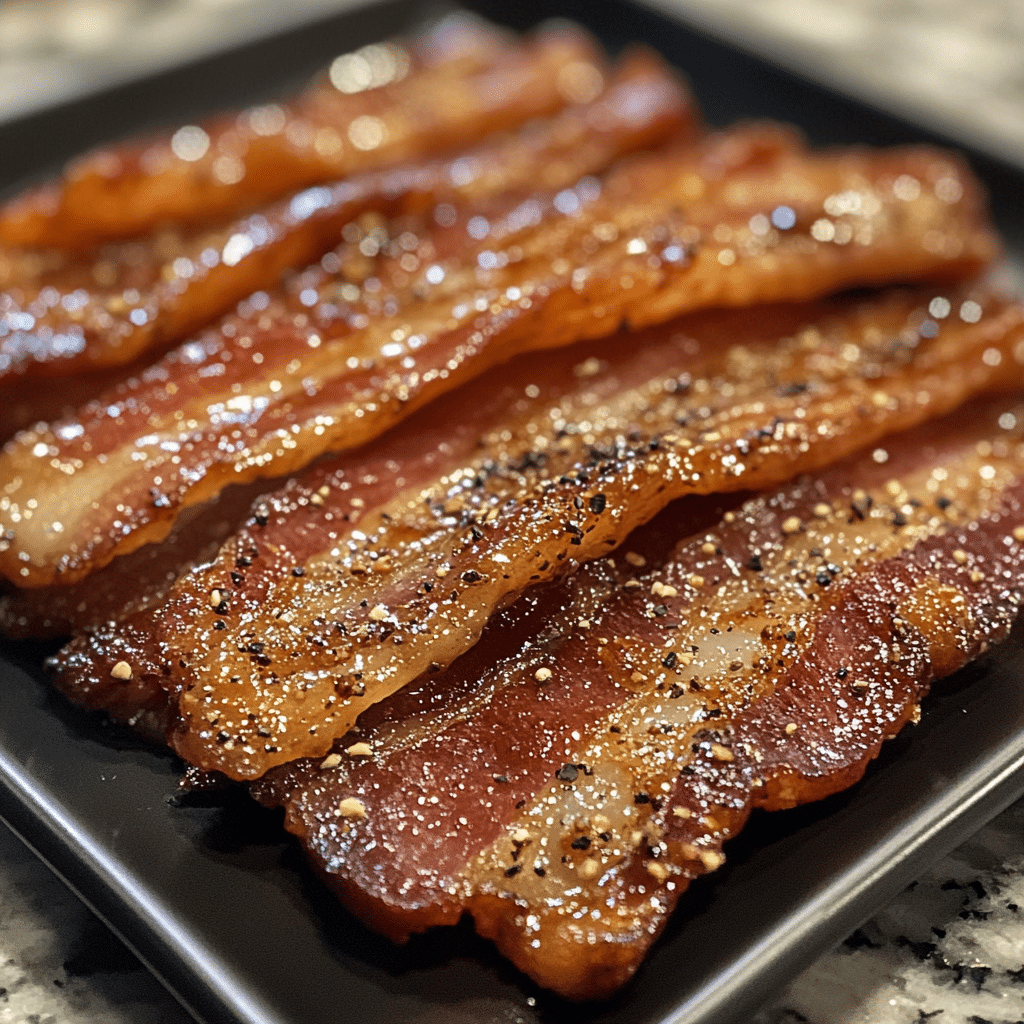
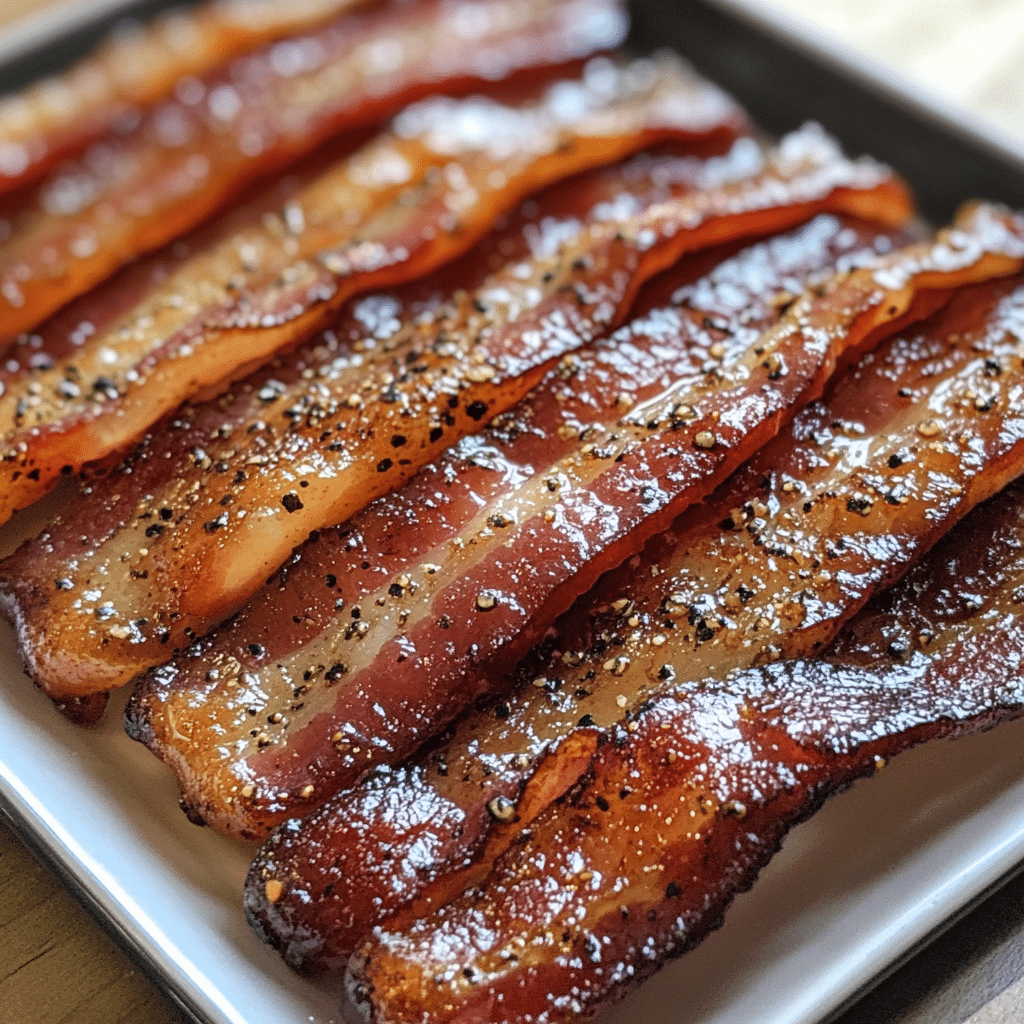
Let me tell you about the time I made Maple Glazed Bacon Strips for brunch, and it turned out to be a total game-changer! I whipped up this delightful recipe so many times since then, each time receiving oohs and aahs from my friends and family. The combination of sweet maple and savory bacon is just irresistible. Seriously, it’s become a staple in my household. If you’re ready to elevate your meals and make dinner time a sweet and savory bliss, you’ll want to stick around for this one!
Why You’ll Love This Maple Glazed Bacon Strips
- Easy to Make: With just a handful of ingredients, this recipe is super simple and perfect for any skill level.
- Versatile Dish: These bacon strips can be a fantastic addition to breakfast, brunch, or even dinner. Think burgers, salads, or just on their own!
- Unforgettable Flavor: The sweet and salty combination is a flavor explosion that will make your mouth water.
- Visually Stunning: The caramelized glaze gives the bacon a gorgeous presentation that will impress anyone.
- Make-Ahead Convenience: You can prep these strips in advance for quick meals or snacks throughout the week.
The Secret to Perfect Maple Glazed Bacon Strips
The secret ingredient that takes these Maple Glazed Bacon Strips to the next level is, you guessed it, pure maple syrup. But it’s not just about the syrup; it’s how you cook them that makes all the difference! Trust me when I say that cooking them on a parchment-lined baking sheet is a game-changer. This technique not only makes cleanup a breeze but also allows the bacon to crisp up perfectly while the glaze caramelizes beautifully. I’ve made this so many times, and I can assure you that anyone can master it with just a few tips!
Rave Reviews from Friends and Followers
“These maple glazed bacon strips are the highlight of our brunch! I never knew bacon could be this good!” — Sarah T.
“I made these for a dinner party, and everyone couldn’t stop raving about them. They were a total hit!” — Mike R.
“This is my go-to recipe for bacon now! I love how easy and delicious it is!” — Jenna L.
Creative Variations to Try
- Spicy Maple Bacon: Add a pinch of cayenne or a few dashes of hot sauce for a spicy kick.
- Herb-Infused Glaze: Mix in some finely chopped rosemary or thyme for a fresh twist.
- Brown Sugar Twist: Combine maple syrup with brown sugar for an extra caramelized effect.
- Bourbon Maple Glaze: For a luxurious touch, add a splash of bourbon to the glaze for depth of flavor.
Bonus: Try wrapping the bacon around asparagus or jalapeños before glazing for a delicious appetizer!
FAQs – All Your Questions Answered!
Can I use turkey bacon instead of pork bacon? Yes! Turkey bacon works well, but keep an eye on cooking times as it may not crisp up in the same way.
How do I store leftovers? Store any leftover bacon in an airtight container in the fridge for up to 4 days.
Can I freeze these bacon strips? Absolutely! Freeze them in a single layer on a baking sheet, then transfer to a freezer bag for up to 3 months.
What should I serve with maple glazed bacon? They pair wonderfully with eggs, pancakes, or even as a topping on salads and sandwiches!
Storage/Serving Tips
- Refrigerate leftover bacon strips in an airtight container for up to 4 days.
- For longer storage, freeze the bacon for up to 3 months.
- Serve warm for the best flavor and texture.
- Consider pairing with fresh fruit, pancakes, or a savory breakfast hash!
Perfect Occasions for Maple Glazed Bacon Strips
- Holiday brunches with family and friends.
- Weekend breakfasts that deserve a little something special.
- Game day snacks that will wow your guests.
- Elevated burgers or sandwiches for a summer cookout.
- As an indulgent topping for a salad or grain bowl.
The Complete Recipe
Thanks for sticking with me! Now, let’s get to the good part—the recipe for these amazing Maple Glazed Bacon Strips.
Maple Glazed Bacon Strips
Ingredients
- 1 pound thick-cut bacon
- ½ cup pure maple syrup
- ¼ teaspoon black pepper
- ¼ teaspoon cayenne pepper (optional)
- 1 tablespoon Dijon mustard (for a tangy twist)
Tip: Use high-quality maple syrup for the best flavor. The real stuff makes a world of difference!
Optional Add-Ins: You can also add a tablespoon of brown sugar for extra sweetness or a splash of bourbon for depth. Each ingredient adds a unique twist to the flavor profile.
Step-by-Step Instructions
Step 1: Preheat Your Oven
Preheat your oven to 400°F (200°C). This is the perfect temperature to get that crispy, caramelized effect without burning the bacon.
Step 2: Prepare the Baking Sheet
Line a baking sheet with parchment paper. This is key to easy cleanup and prevents sticking! Trust me, you’ll thank yourself later.
Step 3: Arrange the Bacon
Lay the bacon strips flat on the baking sheet, ensuring they are not overlapping. This will help them cook evenly and get crispy.
Step 4: Mix the Glaze
In a small bowl, whisk together the maple syrup, black pepper, cayenne (if using), and Dijon mustard. This glaze is where the magic happens!
Step 5: Brush the Bacon
Generously brush the bacon strips with the maple glaze. Make sure every inch gets a taste of that sweet goodness!
Step 6: Bake
Bake in the preheated oven for 15-20 minutes, or until the bacon is crispy and the glaze is bubbly. Keep an eye on it—oven times can vary!
Step 7: Flip and Glaze Again
Halfway through, flip the bacon strips and brush them with more glaze for an extra layer of flavor. This ensures both sides are equally delicious!
Step 8: Cool and Serve
Once done, let the bacon cool for a few minutes on the baking sheet. The glaze will harden slightly, creating that perfect crispy finish. Now you can serve it up!
Nutritional Info: Each serving of maple glazed bacon strips contains approximately 200 calories, depending on the bacon’s thickness and cooking method.
Final Thoughts
So there you have it—the ultimate recipe for Maple Glazed Bacon Strips that will bring joy to your table! This recipe is not just about the ingredients; it’s about the smiles and satisfied bellies it brings to family and friends. I can’t wait for you to try it and share in the delicious experience! Trust me, once you make these, they’ll become a staple in your cooking repertoire. Happy cooking, and enjoy every last bite!
Related Recipes You’ll Love :


