
Discover the Perfect Snack for Your Busy Lifestyle
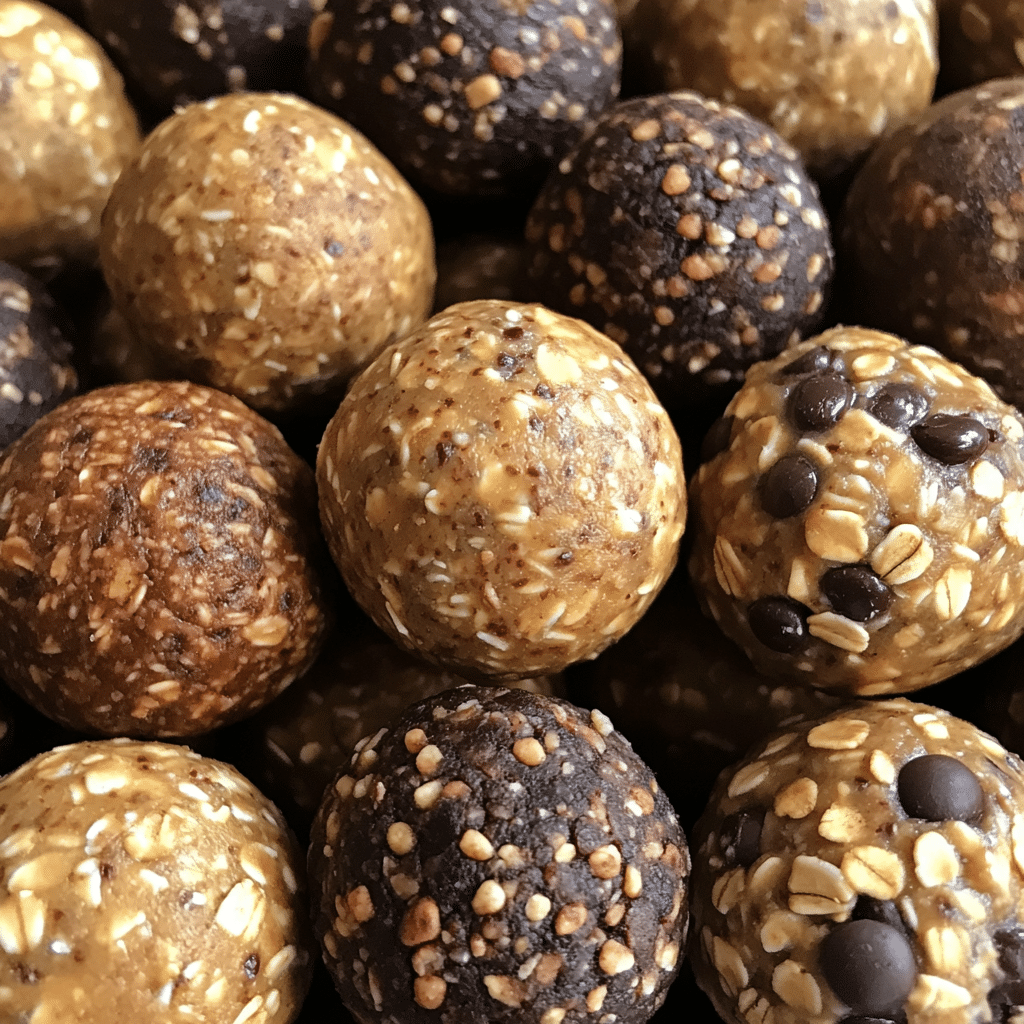
If you’re looking for a quick and healthy snack that you can whip up in no time, look no further than these delightful no-bake protein balls! These little bites are not only easy to prepare but also packed with wholesome ingredients that will keep your energy levels high throughout the day. Perfect for busy women who juggle work, family, and fitness, these protein balls make snacking guilt-free and enjoyable.
Why You’ll Love This Recipe
- Quick and Easy: No baking required, making this a hassle-free recipe.
- Wholesome Ingredients: Packed with oats, nut butter, and protein powder for a nutritious boost.
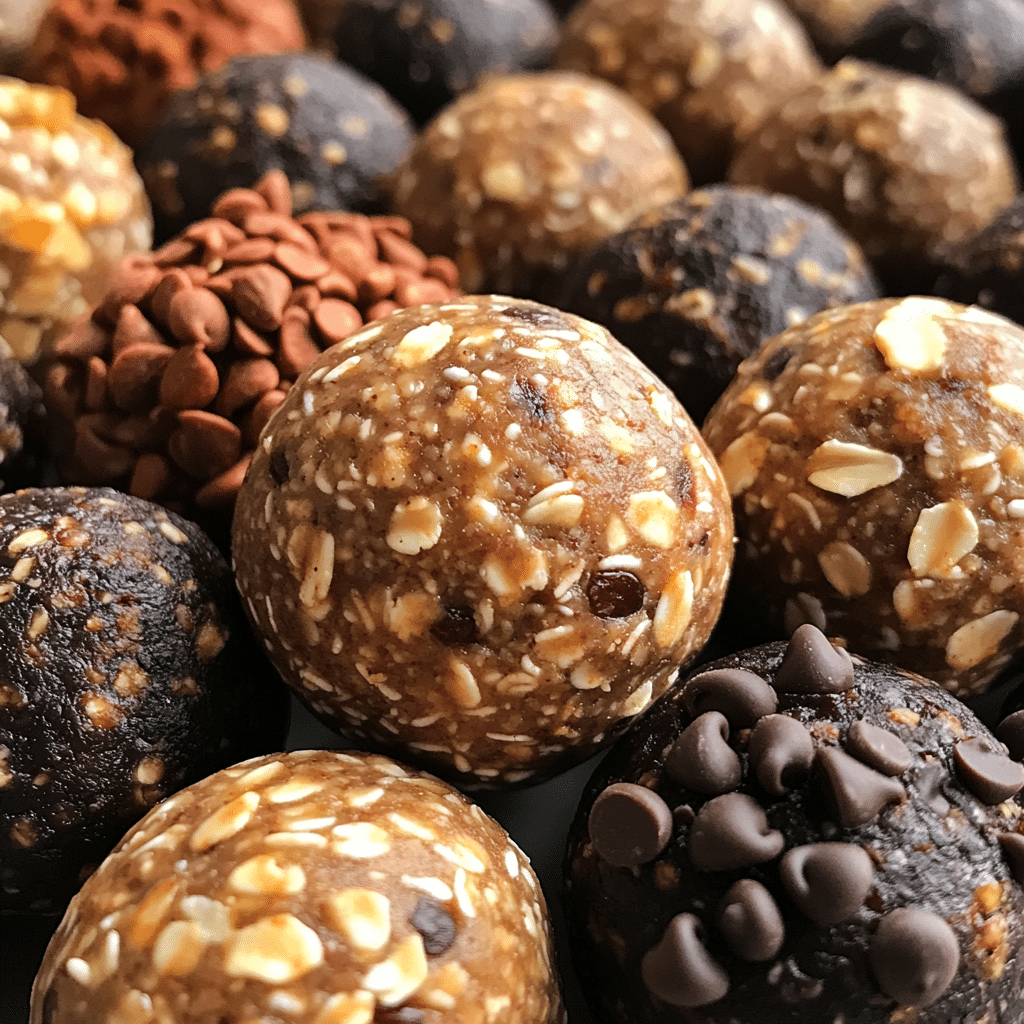
- Versatile: Customize with your favorite mix-ins like chocolate chips or dried fruits.
- Meal Prep Friendly: Make a batch ahead of time and store them for easy snacking.
- Great for Everyone: Perfect for kids, fitness enthusiasts, or anyone craving a healthy treat.
- Delicious Flavor: Satisfies sweet cravings while keeping you on track with your health goals.
Ingredients You’ll Need
Base Ingredients
- 1 cup rolled oats
- 1/2 cup nut butter (peanut, almond, or sunflower)
- 1/4 cup honey or maple syrup
- 1/2 cup protein powder (vanilla or chocolate)
Optional Mix-Ins
- 1/4 cup mini chocolate chips
- 1/4 cup chopped nuts (almonds, walnuts, or pecans)
- 1/4 cup dried fruit (raisins, cranberries, or apricots)
- 1/4 cup seeds (chia, flaxseeds, or pumpkin seeds)
Step-by-Step Instructions
- Combine the Dry Ingredients: In a large mixing bowl, combine the rolled oats, protein powder, and any optional dry mix-ins you choose.
- Add the Wet Ingredients: Stir in the nut butter and honey (or maple syrup) until everything is well combined. The mixture should be sticky and hold together when pressed.
- Mix until Smooth: Use your hands to knead the mixture if necessary, ensuring that all ingredients are evenly distributed.
- Form the Balls: Take small portions of the mixture and roll them into bite-sized balls, about 1 inch in diameter.
- Chill: Place the rolled protein balls on a baking sheet lined with parchment paper and refrigerate for at least 30 minutes to firm up.
- Enjoy: Once chilled, enjoy your no-bake protein balls as a quick snack or post-workout fuel! Store any leftovers in an airtight container in the fridge.
Serving Suggestions
These no-bake protein balls are incredibly versatile! Here are some serving suggestions that can elevate your snacking experience:
- On-the-Go: Pack a few in a small container for a quick snack during your busy day.
- With Yogurt: Crumble a protein ball over Greek yogurt for an added crunch and sweetness.
- Kids’ Lunchboxes: Add these to your children’s lunchboxes for a healthy treat they’ll love.
- Post-Workout Snack: Pair with a protein shake for a balanced recovery meal.
Tips for Success
To ensure your no-bake protein balls turn out perfectly every time, keep these tips in mind:
- Adjust Consistency: If the mixture is too dry, add a little more nut butter or honey. If it’s too wet, add more oats or protein powder.
- Experiment with Flavors: Don’t hesitate to add spices like cinnamon or vanilla extract for extra flavor.
- Storage: Store your protein balls in the refrigerator for up to a week or freeze them for longer storage. Just make sure to separate layers with parchment paper to prevent sticking.
Variations to Try
Feel free to get creative with your no-bake protein balls! Here are some fun variations to consider:
- Chocolate Lovers: Use chocolate protein powder, add cocoa powder, and mix in dark chocolate chips.
- Superfood Boost: Incorporate superfoods like spirulina or maca powder for an extra nutritional punch.
- Nut-Free Option: Substitute nut butter with sunbutter or tahini for a nut-free version.
- Fruit-flavored: Mix in dried fruits like blueberries or bananas for a fruity twist.
Final Thoughts
These no-bake protein balls are not just a snack; they’re a lifestyle choice that fits perfectly into your busy day. With their simple preparation and delicious flavor, you’ll wonder how you ever lived without them. Whether you’re fueling up for a workout or just need a sweet treat without the guilt, these energy-boosting bites are sure to become a staple in your kitchen. Don’t forget to save this recipe for your next meal prep session, and enjoy impressing your friends with your healthy snacking skills!
Related Recipes You’ll Love :


