
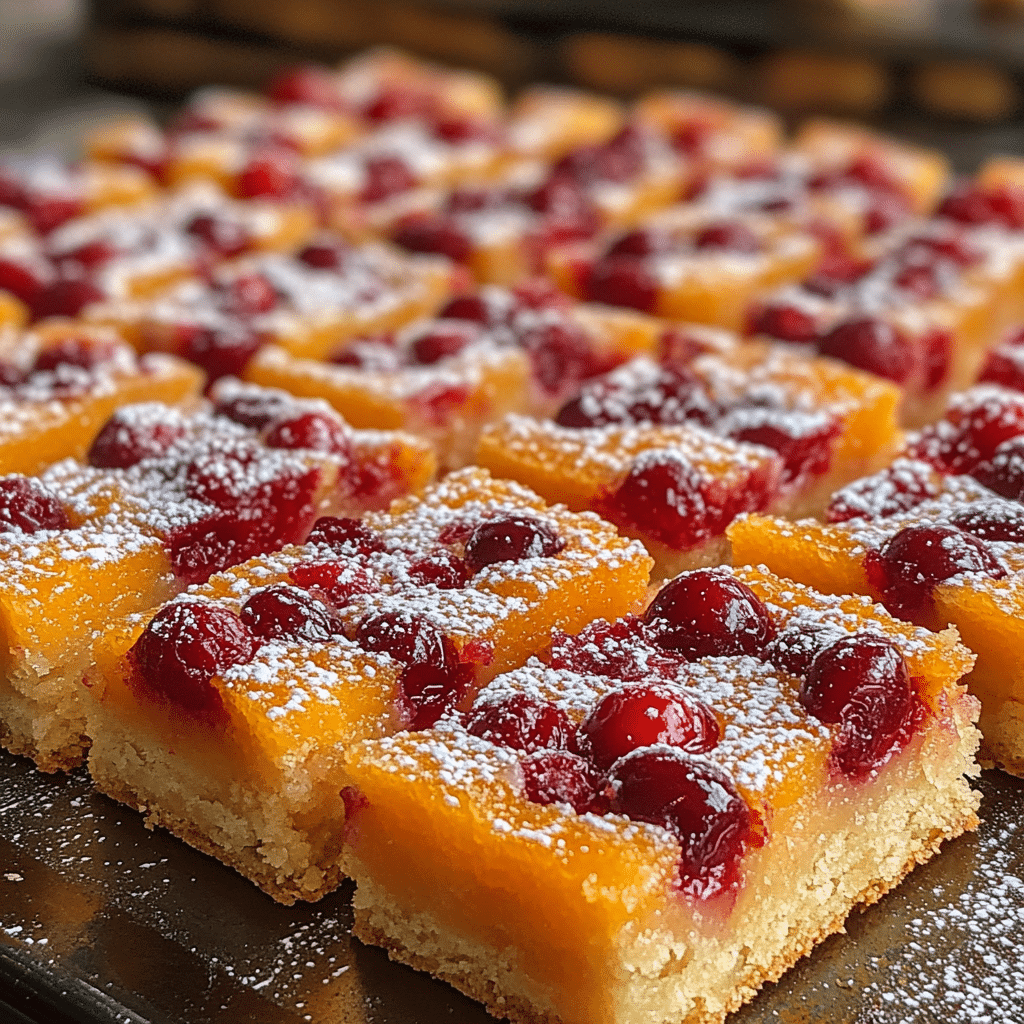
Let me tell you about a little slice of heaven I discovered in my kitchen: Cranberry-Orange Bars. Trust me, once you whip these up, you’ll find yourself making them over and over again. I can’t even count how many times I’ve prepared this delightful treat for friends, family, and even just for myself! Each time, they vanish faster than I can say “delicious.” The combination of tangy cranberries and sweet orange zest is truly a game-changer, and I can’t wait to share my secrets with you!
Why You’ll Love This Cranberry-Orange Bars
- Easy to Make: With simple ingredients and straightforward steps, you’ll be a pro in no time!
- Versatile Treat: Perfect for holiday gatherings, brunches, or as a sweet snack any day of the week.
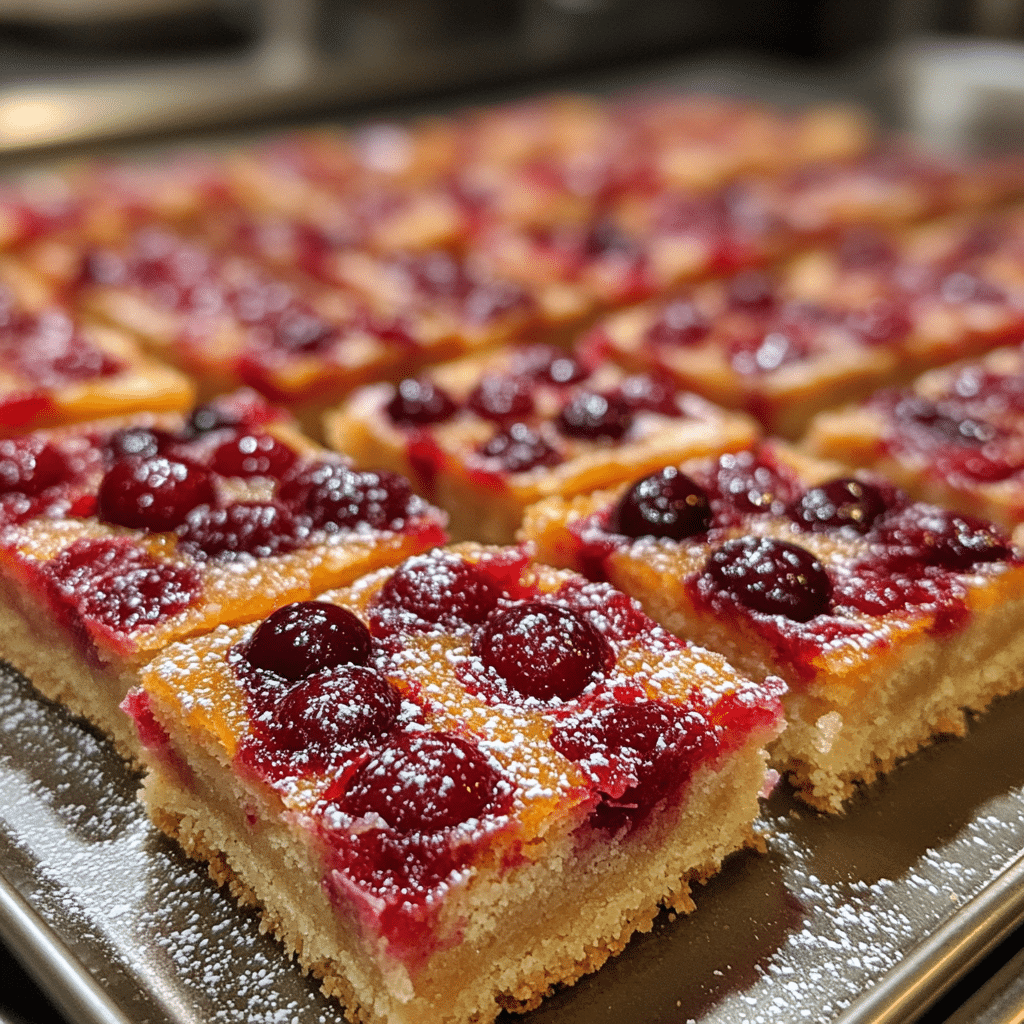
- Bursting with Flavor: The tangy cranberries combined with the fresh zest of orange creates a flavor explosion!
- Visually Stunning: These bars are as beautiful as they are delicious, making them an eye-catching addition to any table.
- Make-Ahead Convenience: Bake them in advance and store them for a delightful treat whenever you want!
The Secret to Perfect Cranberry-Orange Bars
The secret to achieving that perfect balance of flavors in your Cranberry-Orange Bars lies in the quality of your ingredients. Freshly zested oranges and tart cranberries are essential! When I first made these bars, I used pre-packaged orange juice and dried cranberries, and while they were still good, they didn’t have that vibrant punch. So trust me, go for the fresh stuff! You’ll also want to ensure that your butter is softened to room temperature for a smooth, creamy batter. Don’t worry, anyone can do this!
Rave Reviews from Friends and Followers
“These bars were a hit at our holiday party! Everyone was asking for the recipe. I can’t believe how easy they were to make!” – Sarah J.
“I made these for my book club, and they disappeared within minutes! The orange zest really elevates the flavor.” – Mike T.
“I took these to a potluck, and they were the first thing gone. So delicious and beautiful!” – Emily R.
Creative Variations to Try
- Chocolate Chip Cranberry-Orange Bars: Add a handful of semi-sweet chocolate chips for a rich contrast to the tangy cranberries.
- Almond Joy Cranberry-Orange Bars: Mix in some shredded coconut and chopped almonds for a tropical twist.
- Lemon-Orange Cranberry Bars: Substitute some of the orange zest with lemon zest for a brighter flavor profile.
- Maple Cranberry-Orange Bars: Use maple syrup instead of sugar for a deeper, more caramel-like sweetness.
- Bonus: Nutty Crunch: Add chopped walnuts or pecans into the batter for a delightful crunch and added nutrition!
FAQs – All Your Questions Answered!
Can I use frozen cranberries instead of fresh?
Absolutely! Just make sure they are thawed and drained well before using.
How do I store leftover bars?
Store them in an airtight container at room temperature for up to 3 days, or refrigerate for up to a week.
Can I substitute the orange juice with something else?
Yes! Lemon juice can be a great alternative if you’re looking for a different citrus flavor.
What if my bars are too crumbly?
This can happen if there’s not enough butter or if they were overbaked. Make sure to measure accurately and check them a few minutes before the suggested baking time.
How do you cut these bars for the best presentation?
Use a sharp knife and cut them while they are slightly warm for clean edges. A gentle sawing motion works best!
Storage/Serving Tips
- Store in an airtight container at room temperature for up to 3 days.
- For longer storage, refrigerate for up to a week or freeze for up to 3 months.
- Consider dusting with powdered sugar just before serving for a beautiful finish!
- Serve with a dollop of whipped cream or a scoop of vanilla ice cream for an extra special treat!
Perfect Occasions for Cranberry-Orange Bars
- Holiday gatherings – they make a festive addition to any spread!
- Brunch parties – pair them with coffee or mimosas for a delightful morning treat.
- Picnics – pack them up for a sweet snack outdoors!
- Potlucks – they are sure to impress and stand out among other desserts.
- Gifts – wrap them up nicely and share with neighbors and friends as a thoughtful gesture.
- After-school snacks – kids will love the sweet, fruity flavor!
The Complete Recipe
Thank you for sticking with me through all the wonderful details! Now, let’s get to the recipe, so you can start baking your own Cranberry-Orange Bars!
Cranberry-Orange Bars
Ingredients
- 1 cup all-purpose flour
- 1/2 cup granulated sugar
- 1/2 cup butter, softened
- 1/2 cup fresh cranberries, chopped
- Zest of 1 large orange
- 1/4 cup fresh orange juice
- 1 large egg
- 1 teaspoon baking powder
- 1/4 teaspoon salt
- Powdered sugar for dusting (optional)
Tip: For the freshest flavor, use organic oranges and try to zest them right before adding to the batter.
Extend ingredients section: You can also add 1/2 cup of chopped nuts, like walnuts or pecans, for added texture. If cranberries are out of season, dried cranberries work too, but they won’t be as tart!
Step-by-Step Instructions
Step 1: Preheat and Prepare
Preheat your oven to 350°F (175°C). Grease an 8-inch square baking pan or line it with parchment paper for easy removal. This simple step makes all the difference when it comes to clean-up!
Step 2: Cream the Butter and Sugar
In a large mixing bowl, cream together the softened butter and granulated sugar until light and fluffy. This should take about 2-3 minutes. This creaming process is vital as it incorporates air into the mixture, making your bars light and tender.
Step 3: Add the Egg and Orange Juice
Beat in the egg and fresh orange juice until well combined. The mixture may look a bit curdled at this stage, but don’t worry, it will come together when you add the dry ingredients.
Step 4: Combine Dry Ingredients
In a separate bowl, whisk together the flour, baking powder, and salt. Gradually add this mixture to the wet ingredients and stir until just combined. Be careful not to overmix, as this can lead to dense bars!
Step 5: Fold in Cranberries and Zest
Gently fold in the chopped cranberries and orange zest. This step is where the magic happens, and your kitchen will start to smell incredible! When folding, use a spatula to keep the mixture light and airy.
Step 6: Bake to Perfection
Pour the batter into your prepared pan and spread it evenly. Bake for 25-30 minutes, or until the edges are golden brown and a toothpick comes out clean. Keep an eye on them, as ovens can vary, and you don’t want to overbake!
Related Recipes You’ll Love :


