
I have to tell you about the time I made these Jam-Filled Brioche Buns for the first time. It was a rainy Saturday afternoon, and I wanted something that would lift my spirits. Let me tell you, these buns were an absolute game-changer! I’ve made this recipe countless times since, and they never fail to impress. Whether it’s for a cozy family dinner or a gathering with friends, these buns have become a staple in my kitchen. Trust me, once you try them, you’ll be hooked!
Why You’ll Love This Jam-Filled Brioche Buns
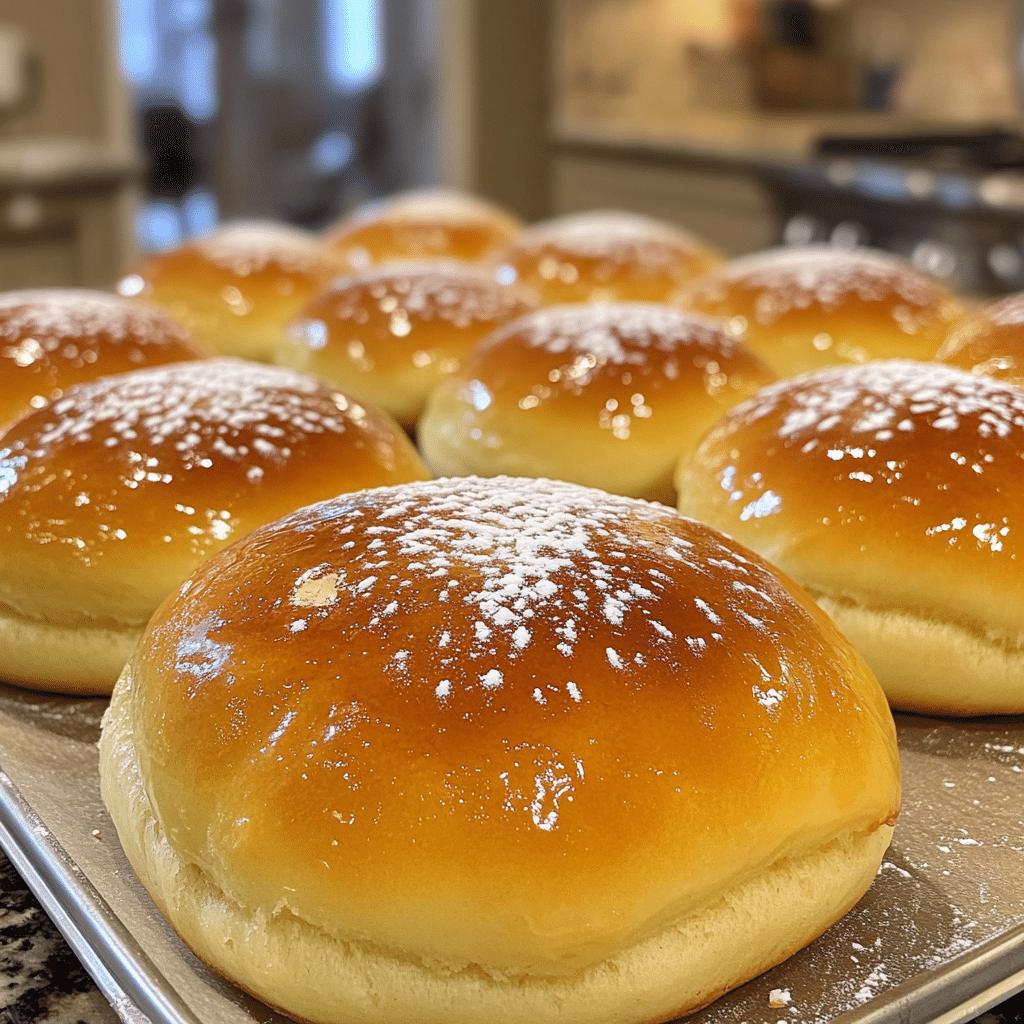
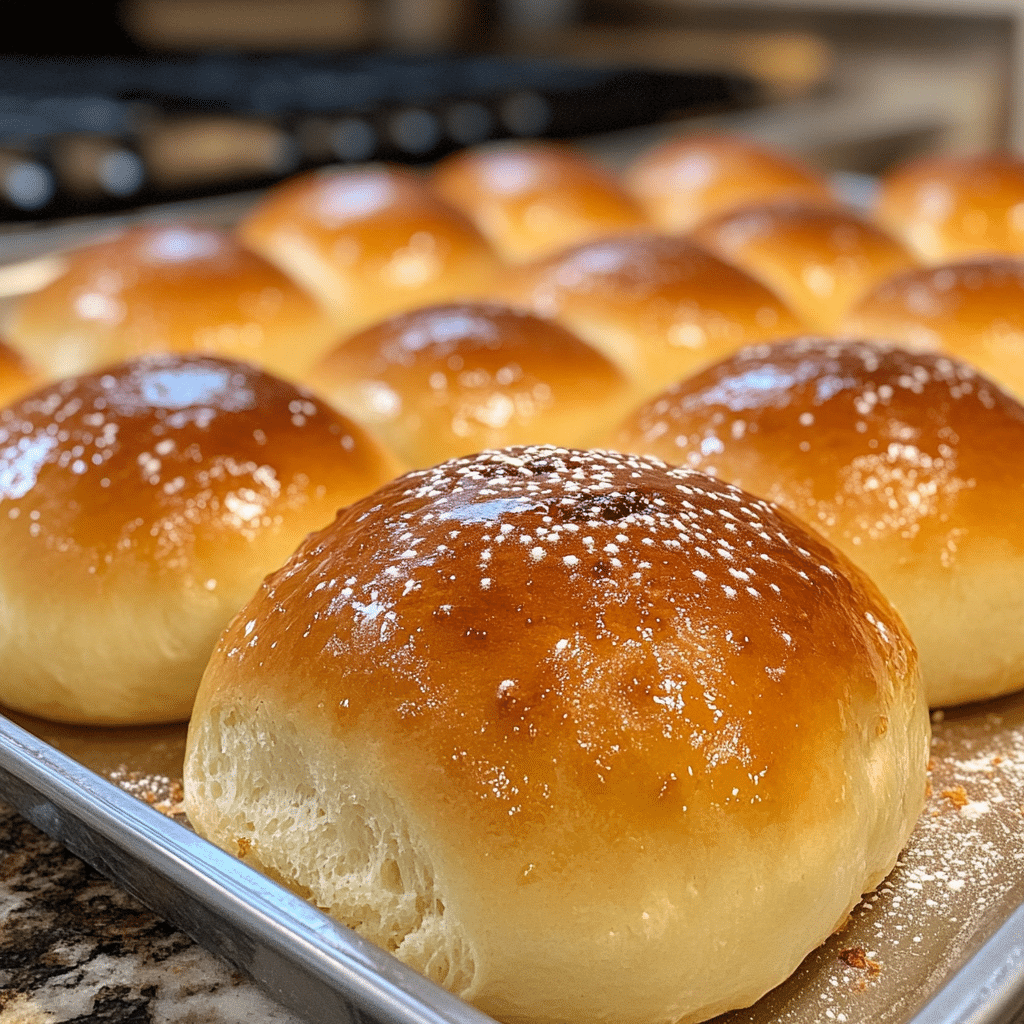
- Irresistibly Soft Texture: The brioche dough is light, fluffy, and melts in your mouth.
- Versatile and Customizable: Fill them with your favorite jam, or even chocolate spread!
- Perfect for Any Occasion: These buns are great for brunch, dinner, or even as a sweet snack.
- Make-Ahead Convenience: You can prepare the dough in advance, saving you time on busy days.
- Healthy Ingredients: Made with wholesome ingredients, these buns are a tasty and nutritious choice.
The Secret to Perfect Jam-Filled Brioche Buns
The secret to achieving that perfect, soft and pillowy texture lies in the brioche dough itself. Using high-quality ingredients is essential! I always opt for fresh yeast and good-quality butter. This makes a world of difference in flavor and texture. Another insider tip? Don’t rush the rising process. Let the dough rise until it has doubled in size. This is where the magic happens, and you’ll be rewarded with fluffy buns that are simply irresistible.
Rave Reviews from Friends and Followers
“These buns were the hit of our brunch! I can’t believe how easy they were to make. I’ve never seen my kids devour something so quickly!” – Sarah J.
“I made these for a family gathering, and they disappeared in minutes! Everyone was asking for the recipe. They’re a total crowd-pleaser!” – Mark L.
“I never thought I could make something so delicious at home. These buns are soft, sweet, and just heavenly!” – Emma T.
Creative Variations to Try
- Chocolate Hazelnut Spread: Fill the buns with luxurious chocolate hazelnut spread for a decadent treat.
- Cinnamon Sugar Swirl: Add a sprinkle of cinnamon sugar before rolling them up for a sweet twist!
- Fruit Combinations: Mix different jams, like raspberry and peach, for a unique flavor explosion.
- Cheese and Jam: Try a savory version with cream cheese and jalapeño jelly for a sweet and spicy combo!
Bonus: For an extra touch, brush the buns with melted butter right after baking for a shiny finish.
FAQs – All Your Questions Answered!
Can I use instant yeast instead of fresh yeast?
Absolutely! Just use about 75% of the amount specified for fresh yeast, and you’ll get the same delightful results.
How should I store leftover buns?
Store them in an airtight container at room temperature for up to 3 days, or freeze them for longer storage.
What can I substitute if I don’t have all-purpose flour?
You can use bread flour for a chewier texture, or even a gluten-free flour blend if needed.
How do I troubleshoot if my dough doesn’t rise?
Make sure your yeast is fresh and active. If your kitchen is cold, try placing the dough in a warm spot, such as near a preheated oven.
Storage/Serving Tips
- Store buns in an airtight container to maintain freshness.
- They last up to 3 days at room temperature; freeze for up to a month.
- Serve warm, lightly dusted with powdered sugar, or with a dollop of whipped cream for an indulgent treat.
Perfect Occasions for Jam-Filled Brioche Buns
- Sunday brunch with family and friends.
- Holiday gatherings, like Easter or Thanksgiving.
- Picnics in the park or outdoor parties.
- Movie nights at home with loved ones.
- Potlucks and bake sales where you want to impress!
The Complete Recipe
Thank you for sticking around! I can’t wait for you to try these Jam-Filled Brioche Buns. They’re truly a delight to make and enjoy. Here’s how to do it!
Jam-Filled Brioche Buns
Ingredients
- 4 cups all-purpose flour
- 1/2 cup granulated sugar
- 2 teaspoons salt
- 1 tablespoon fresh yeast or 2 1/4 teaspoons instant yeast
- 1/2 cup whole milk, warmed
- 1/2 cup unsalted butter, melted
- 4 large eggs
- Your favorite jam (about 1 cup)
Tip: Make sure the milk is warm but not hot; too much heat can kill the yeast. A gentle warm touch is perfect!
Optional Add-Ins: Feel free to add a teaspoon of vanilla extract to the dough for extra flavor, or mix in some citrus zest for a refreshing twist!
Step-by-Step Instructions
Step 1: Combine Dry Ingredients
In a large mixing bowl, whisk together the flour, sugar, and salt. This ensures even distribution of flavors and helps the dough rise beautifully.
Step 2: Activate the Yeast
If using fresh yeast, dissolve it in the warm milk and let it sit for about 5 minutes until bubbly. This step is crucial for a good rise. If using instant yeast, you can skip this and add it directly to the dry ingredients.
Step 3: Mix Wet Ingredients
In another bowl, whisk together the melted butter and eggs. Once the yeast is activated, combine it with the milk mixture. This creates a rich, flavorful base for your dough.
Step 4: Form the Dough
Gradually add the wet ingredients to the dry mix. Stir until a shaggy dough forms, then knead on a floured surface for about 8-10 minutes until smooth and elastic. This is a satisfying step; you’ll feel the dough coming together beautifully!
Step 5: First Rise
Place the dough in a greased bowl, cover with a clean cloth, and let it rise in a warm spot until doubled in size, about 1-2 hours. Patience is key here!
Step 6: Shape the Buns
Once risen, punch down the dough to release the air. Divide it into equal pieces, about 2-3 ounces each. Flatten each piece, place a spoonful of jam in the center, and fold the dough over to seal. Shape into a ball and place seam side down on a baking sheet.
Step 7: Second Rise
Cover the buns with a cloth and let them rise again for about 30-45 minutes. This second rise is essential for that light texture.
Step 8: Bake
Preheat your oven to 375°F (190°C). Bake the buns for 15-20 minutes or until golden brown. The smell is heavenly, and you’ll want to keep peeking!
Step 9: Cool and Serve
Allow the buns to cool slightly on a wire rack. Serve warm, and watch as everyone devours them.
Nutritional Information: Each bun has approximately 200 calories, with
Related Recipes You’ll Love :


