
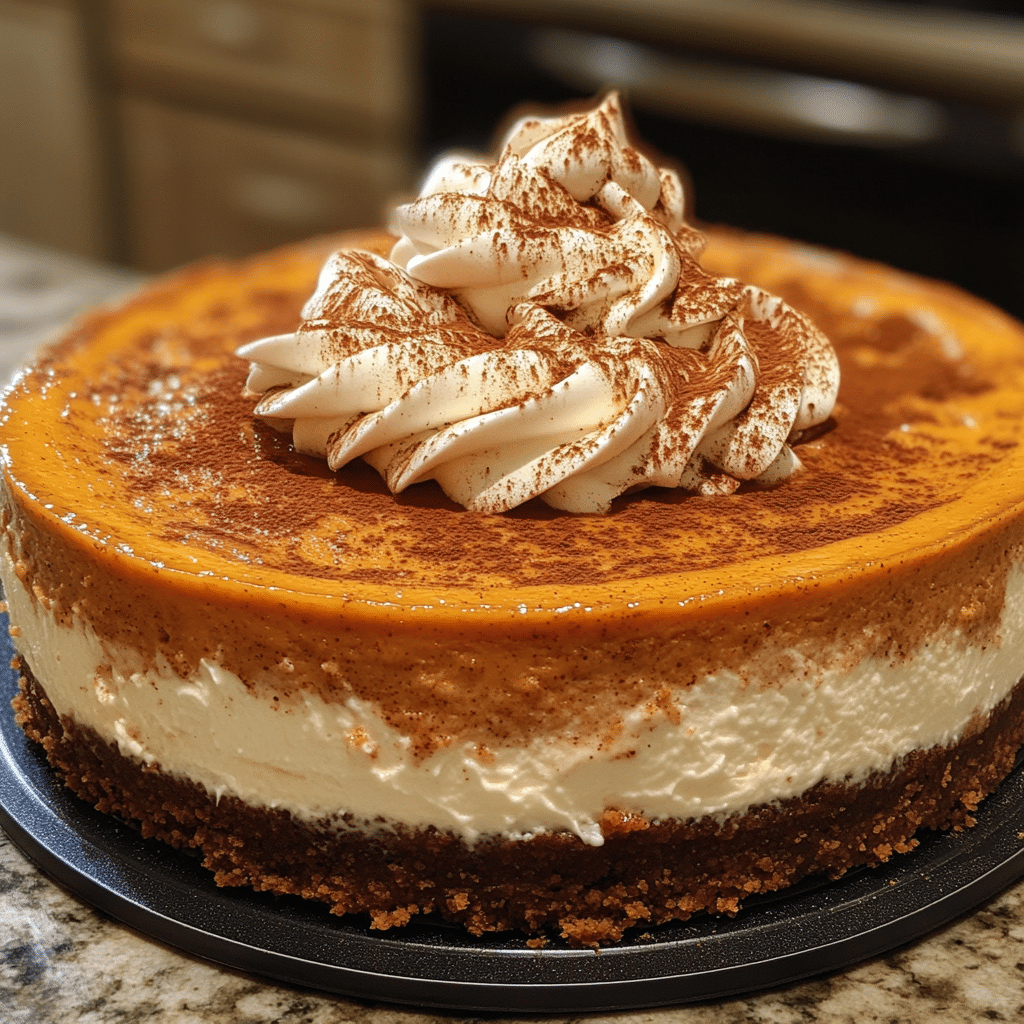
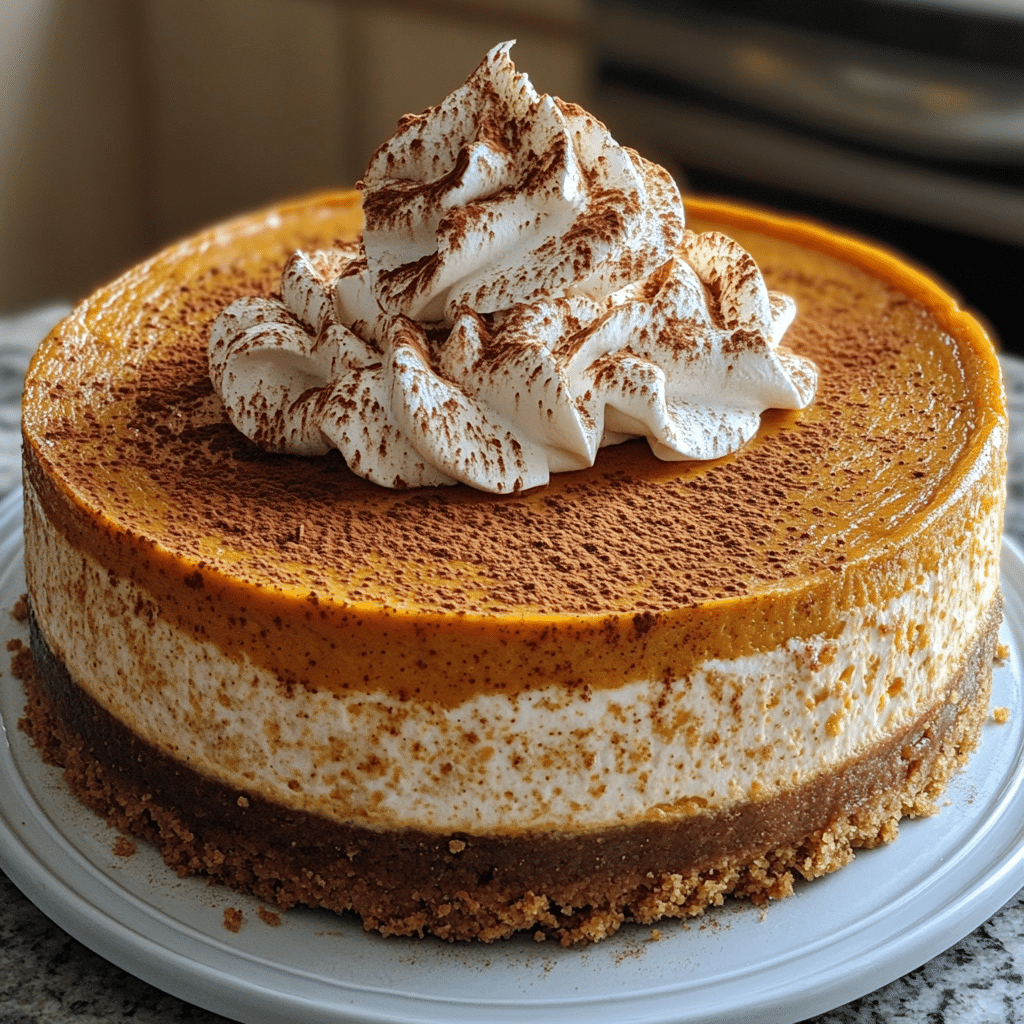
Let me tell you about one of my absolute favorite fall recipes that has become a staple in my kitchen: Pumpkin Cheesecake with Gingersnap Crust. I can’t even count how many times I’ve whipped this beauty up! Each time, it disappears in a flash, leaving everyone asking for seconds (and the recipe, of course!). The creamy, spiced pumpkin filling paired with that crunchy, sweet gingersnap crust is a total game-changer. Trust me, if you’re looking for the ultimate fall dessert, this is it!
Why You’ll Love This Pumpkin Cheesecake with Gingersnap Crust
- Irresistible Flavor: The combination of creamy pumpkin and spicy gingersnap is simply divine.
- Easy to Make: This recipe is straightforward and perfect for bakers of all skill levels!
- Visually Stunning: Impress your guests with a dessert that looks as good as it tastes.
- Make-Ahead Convenience: Prepare it a day in advance and let the flavors meld for a truly delicious treat.
- Perfect for Any Occasion: Whether it’s Thanksgiving or a cozy gathering, it fits right in!
The Secret to Perfect Pumpkin Cheesecake with Gingersnap Crust
The key to achieving the perfect Pumpkin Cheesecake with Gingersnap Crust lies in the balance of flavors and textures. One of my insider tips is to use room temperature cream cheese. This ensures a smooth, creamy filling without any lumps. Additionally, don’t rush the baking process; low and slow is the way to go! A gentle bake allows the cheesecake to set perfectly while maintaining that luscious texture. Trust me, once you master these small details, you’ll be a cheesecake pro in no time!
Rave Reviews from Friends and Followers
“This pumpkin cheesecake is a total showstopper! I brought it to a friend’s dinner party, and it was the star of the night. Everyone was raving about it!” – Jessica M.
“I’ve tried many pumpkin desserts, but this one takes the cake! The gingersnap crust is a delightful twist that I can’t get enough of!” – Brian T.
“As someone who doesn’t usually like pumpkin, I can honestly say this cheesecake is phenomenal! I could eat it every day this fall!” – Sarah L.
Creative Variations to Try
- Chocolate Swirl: Add melted chocolate to the filling for a rich, decadent twist.
- Maple Cream Cheese Frosting: Top with a maple-infused cream cheese frosting for added sweetness.
- Nutty Crunch: Mix chopped pecans or walnuts into the gingersnap crust for extra texture.
- Spiced Rum: A splash of spiced rum in the filling adds a warm depth of flavor.
Bonus: For a lighter version, substitute half of the cream cheese with Greek yogurt for a tangy twist!
FAQs – All Your Questions Answered!
Can I use a store-bought gingersnap crust? Absolutely! While homemade is delightful, a store-bought crust can save time without sacrificing flavor.
How long can I store leftovers? Your cheesecake will last about 3-5 days in the fridge, but I doubt it will last that long!
Can I freeze this cheesecake? Yes! Wrap it tightly in plastic wrap and foil, and it can be frozen for up to 3 months.
What can I substitute for cream cheese? You can use mascarpone cheese or a dairy-free cream cheese alternative for a different flavor profile.
Storage/Serving Tips
- Store covered in the refrigerator to keep it fresh.
- For best flavor, let it sit at room temperature for about 30 minutes before serving.
- Pair with whipped cream or a drizzle of caramel sauce for an extra indulgent treat.
Perfect Occasions for Pumpkin Cheesecake with Gingersnap Crust
- Thanksgiving dessert centerpiece.
- Fall birthday celebrations.
- Cozy gatherings with friends.
- Potluck dinners where you want to impress.
- Halloween parties for a festive touch.
- Sunday family dinners to make the weekend special.
The Complete Recipe
Thank you for sticking with me! Now, here’s how to make this incredible Pumpkin Cheesecake with Gingersnap Crust.
Pumpkin Cheesecake with Gingersnap Crust
Ingredients
- 1 ½ cups gingersnap cookie crumbs
- ½ cup unsalted butter, melted
- 2 (8 oz) packages cream cheese, softened
- 1 cup sugar
- 1 cup pumpkin puree
- 3 large eggs
- 1 teaspoon vanilla extract
- 1 teaspoon ground cinnamon
- ½ teaspoon ground nutmeg
- ½ teaspoon ground ginger
- ¼ teaspoon salt
Tip: Using fresh pumpkin puree enhances the flavor, but canned works beautifully too!
Optional Add-Ins: Consider adding ½ cup sour cream for extra creaminess or 1 tablespoon of lemon juice for brightness.
Step-by-Step Instructions
Step 1: Preheat Your Oven
Start by preheating your oven to 325°F (160°C). This ensures that your cheesecake bakes evenly and sets perfectly.
Step 2: Make the Crust
In a mixing bowl, combine the gingersnap crumbs and melted butter. Stir until the crumbs are evenly coated. Press this mixture firmly into the bottom of a 9-inch springform pan to form a sturdy crust.
Step 3: Prepare the Filling
In a large bowl, beat the softened cream cheese until smooth. Gradually add the sugar, pumpkin puree, eggs, vanilla, and spices. Beat until completely combined and creamy, scraping the sides of the bowl as needed.
Step 4: Pour and Smooth
Pour the pumpkin filling into the prepared crust, using a spatula to smooth the top. This will give it a beautiful finish when baked.
Step 5: Bake
Bake in your preheated oven for 55-60 minutes, or until the edges are set and the center is slightly jiggly. Don’t worry; it will firm up as it cools!
Step 6: Cool and Chill
Once baked, turn off the oven and crack the door open. Let the cheesecake cool in the oven for about an hour. Then, refrigerate for at least 4 hours, or overnight for the best flavor.
Step 7: Serve and Enjoy
When ready to serve, carefully release the sides of the springform pan. Slice and serve chilled, perhaps with a dollop of whipped cream on top!
Nutrition Info: Each slice offers a delightful burst of flavor with about 350 calories, making it a perfect indulgence during the fall season.
Final Thoughts
There you have it! This Pumpkin Cheesecake with Gingersnap Crust is everything you need for a memorable fall dessert. The combination of flavors and textures makes it special, and I can guarantee it will become a favorite in your home too. So, gather your ingredients, roll up your sleeves, and dive into this incredible recipe! I can’t wait to hear how it turns out for you!
Related Recipes You’ll Love :


