
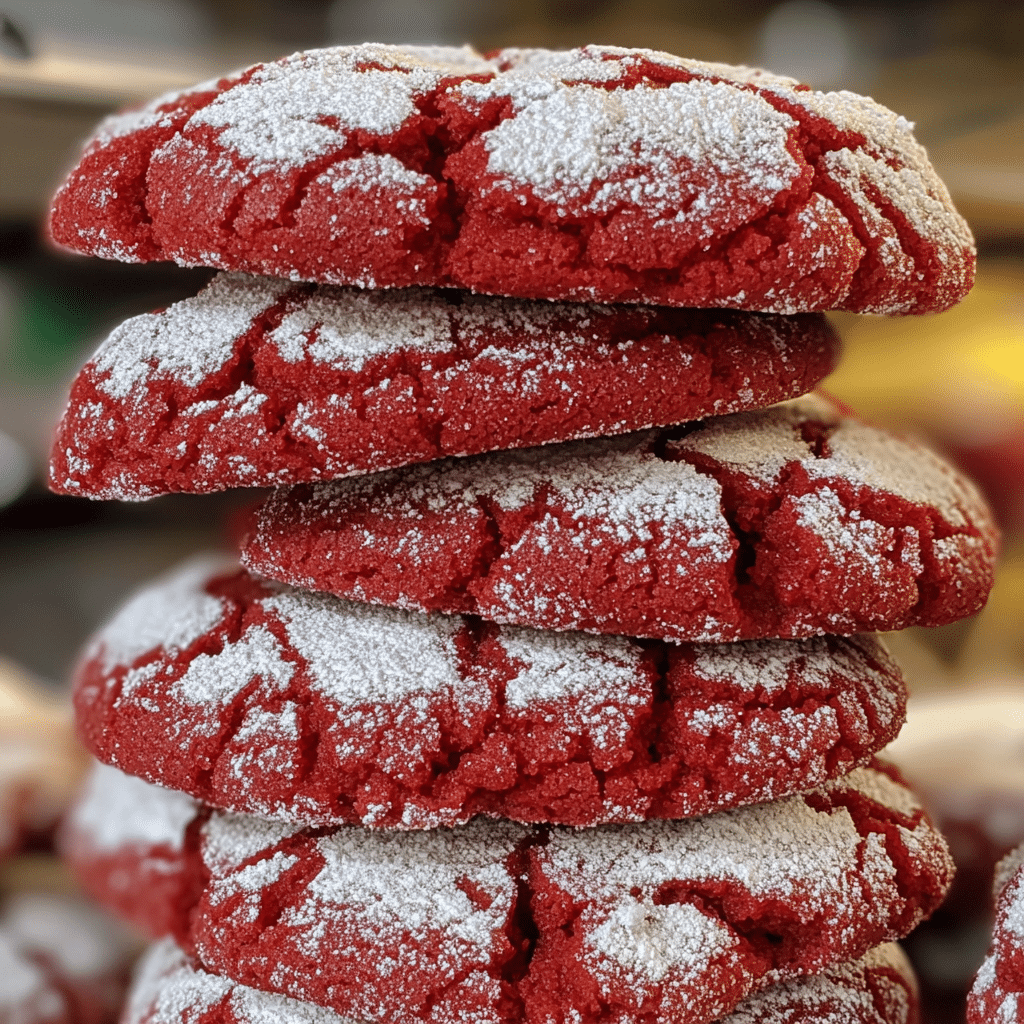
Let me tell you about my absolute favorite treat: Red Velvet Crinkle Cookies! I’ve made this delightful recipe more times than I can count, and every single time, I’m blown away by how delicious they are. These cookies are a showstopper with their stunning red hue and that irresistible crinkle on top. Trust me, when you pull these beauties out of the oven, the aroma alone will have everyone rushing to the kitchen. If you’re ready to elevate your baking game and impress your friends and family, then keep reading because this Red Velvet Crinkle Cookies recipe is a must-try!
Why You’ll Love This Red Velvet Crinkle Cookies
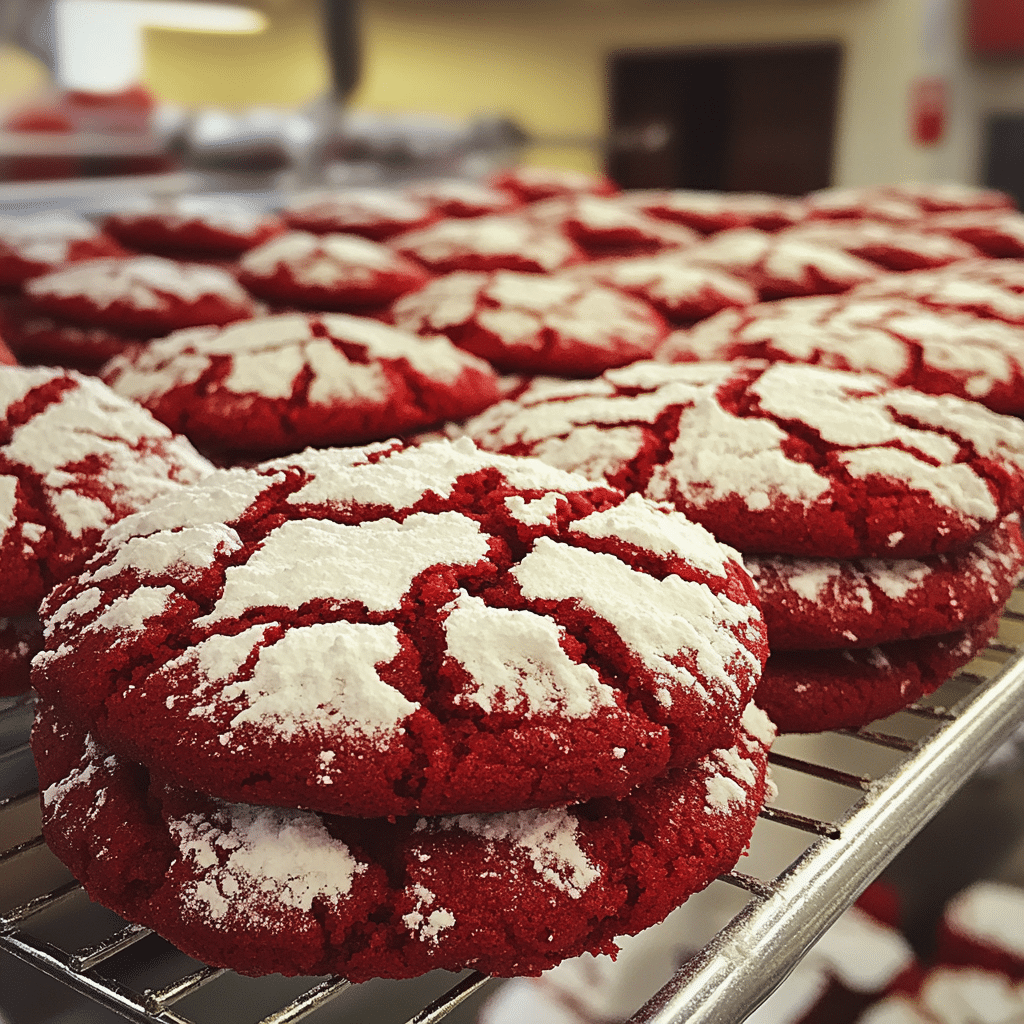
- Visually Stunning: Their vibrant red color and crinkled top make these cookies a feast for the eyes.
- Easy to Make: With simple ingredients and straightforward steps, you’ll have these cookies ready in no time.
- Irresistible Flavor: The rich cocoa flavor combined with a hint of vanilla creates a cookie that’s simply divine.
- Versatile Treat: Perfect for any occasion, these cookies can be a festive treat for holidays or a sweet surprise for any day!
- Make-Ahead Friendly: You can prepare the dough in advance and bake them fresh whenever you want.
The Secret to Perfect Red Velvet Crinkle Cookies
The key to achieving that perfect Red Velvet Crinkle Cookie lies in the balance of ingredients and the technique. One crucial tip is to chill the dough before baking. This allows the flavors to meld beautifully and helps the cookies keep their shape while baking, leading to those lovely crinkles. I’ve found that using quality cocoa powder makes a huge difference in flavor, so don’t skimp on that ingredient! With a little patience and the right approach, I promise you’ll have cookie perfection on your hands.
Rave Reviews from Friends and Followers
“These cookies are a game-changer! They taste as good as they look. I took them to a gathering, and they were gone in minutes!” – Sarah M.
“I’ve tried many cookie recipes, but these Red Velvet Crinkle Cookies are my absolute favorite! The texture is chewy, and the flavor is out of this world!” – James T.
“I made these cookies for a birthday party, and everyone was raving about them! They’re so easy to make and look stunning on the dessert table.” – Emily R.
Creative Variations to Try
- White Chocolate Chip: Add white chocolate chips to the dough for a sweet and creamy contrast to the cocoa flavor.
- Mint Chocolate: Incorporate peppermint extract into the dough for a refreshing twist.
- Nutty Accents: Mix in chopped pecans or walnuts for a delightful crunch.
- Chocolate Swirl: Swirl in some brownie batter for an extra chocolatey experience.
- Bonus: Top with cream cheese frosting after baking for a decadent touch!
FAQs – All Your Questions Answered!
Can I use a different type of cocoa powder? Yes! You can use Dutch-process cocoa powder for a deeper flavor, but make sure to adjust the acidity in the recipe accordingly.
How do I store these cookies? Store them in an airtight container at room temperature for up to a week or freeze for longer storage.
Can I substitute the eggs? Yes, you can use flax eggs or applesauce as a vegan substitute, though the texture may vary slightly.
What if my dough is too sticky? If the dough is too sticky, chill it for an extra 30 minutes to make it easier to handle.
How can I make these cookies gluten-free? You can substitute all-purpose flour with a 1:1 gluten-free flour blend for a gluten-free option.
Storage/Serving Tips
- Store cookies in an airtight container to keep them fresh.
- These cookies can last up to a week at room temperature.
- For longer storage, freeze the cookies in a single layer and transfer them to a freezer bag.
- Serve them warm with a glass of milk or alongside a scoop of vanilla ice cream for a special treat.
Perfect Occasions for Red Velvet Crinkle Cookies
- Valentine’s Day celebrations – a perfect treat for your special someone!
- Holiday gatherings – they add a festive touch to any cookie platter.
- Birthdays – these cookies are a fun addition to any birthday party dessert table.
- Bridal or baby showers – their vibrant color will delight guests.
- Just because – you don’t need a reason to indulge in these delicious cookies!
The Complete Recipe
Now that you’re excited and ready to bake, let’s get to the good stuff! Here’s the complete recipe for these amazing Red Velvet Crinkle Cookies.
Red Velvet Crinkle Cookies
Ingredients
- 2 cups all-purpose flour
- 1/4 cup unsweetened cocoa powder
- 1 teaspoon baking powder
- 1/4 teaspoon salt
- 1/2 cup unsalted butter, softened
- 1 cup granulated sugar
- 1/4 cup brown sugar
- 1 large egg
- 1 teaspoon vanilla extract
- 1 tablespoon red food coloring
- 1/2 cup powdered sugar (for rolling)
Tip: Make sure your butter is at room temperature for easy mixing. You can also substitute the granulated sugar with coconut sugar for a deeper flavor.
Optional Add-Ins: Chopped nuts, white chocolate chips, or even a sprinkle of sea salt on top for an extra flavor kick.
Step-by-Step Instructions
Step 1: Preheat Your Oven
Preheat your oven to 350°F (175°C) and line a baking sheet with parchment paper. This will ensure your cookies bake evenly and don’t stick!
Step 2: Mix the Dry Ingredients
In a medium bowl, whisk together the flour, cocoa powder, baking powder, and salt. This step ensures that all your dry ingredients are evenly distributed, which is crucial for the perfect cookie texture.
Step 3: Cream the Butter and Sugars
In a large bowl, beat the softened butter, granulated sugar, and brown sugar until light and fluffy. This usually takes about 2-3 minutes. Trust me, the fluffiness is key for a tender cookie!
Step 4: Add Egg and Flavorings
Add the egg, vanilla extract, and red food coloring to the butter mixture. Mix until everything is well combined. The red food coloring is what makes these cookies pop, so don’t be shy with it!
Step 5: Combine Wet and Dry Ingredients
Gradually add the dry ingredients to the wet mixture, mixing on low speed until just combined. Be careful not to overmix, as this can lead to tough cookies.
Step 6: Chill the Dough
Cover the bowl with plastic wrap and chill the dough in the refrigerator for at least 30 minutes. This step is essential for achieving the perfect crinkle!
Step 7: Shape and Roll
Once chilled, scoop out tablespoon-sized portions of dough, roll them into balls, and then roll each ball in powdered sugar until fully coated. This gives them that signature crinkle when they bake!
Step 8: Bake!
Place the rolled balls on the prepared baking sheet, spaced about 2 inches apart, and bake for 10-12 minutes. The edges should look set, while the centers may look slightly underbaked. They will continue to cook after coming out of the oven, so don’t overbake!
Step 9: Cool and Enjoy!
Allow the cookies to cool on the baking
Related Recipes You’ll Love :


