
Let me tell you about one of my all-time favorite go-to treats: Rice Krispie Treats. I can’t even count how many times I’ve made these delightful squares! They’re not just a hit with my family; they’re a guaranteed crowd-pleaser at any gathering. Whenever I whip them up, the kitchen fills with that sweet, buttery aroma that gets everyone buzzing with excitement. Trust me, if you’re looking for a quick and easy dessert that brings joy to everyone, this recipe is a game-changer. In just 15 minutes, you can have a batch of chewy, delicious Rice Krispie Treats that will leave everyone asking for seconds!
Why You’ll Love This Rice Krispie Treats
- Quick and Easy: Made in just 15 minutes, these treats are perfect for those busy weeknights.
- Minimal Ingredients: You only need a handful of pantry staples to create these delightful bars.
- Versatile: Customize them with various mix-ins or toppings to suit any occasion or preference.
- Family-Friendly: Kids and adults alike love the sweet, chewy texture and nostalgic flavor.
- Make-Ahead Convenience: Whip them up in advance for parties, school lunches, or just to have on hand for snacking.
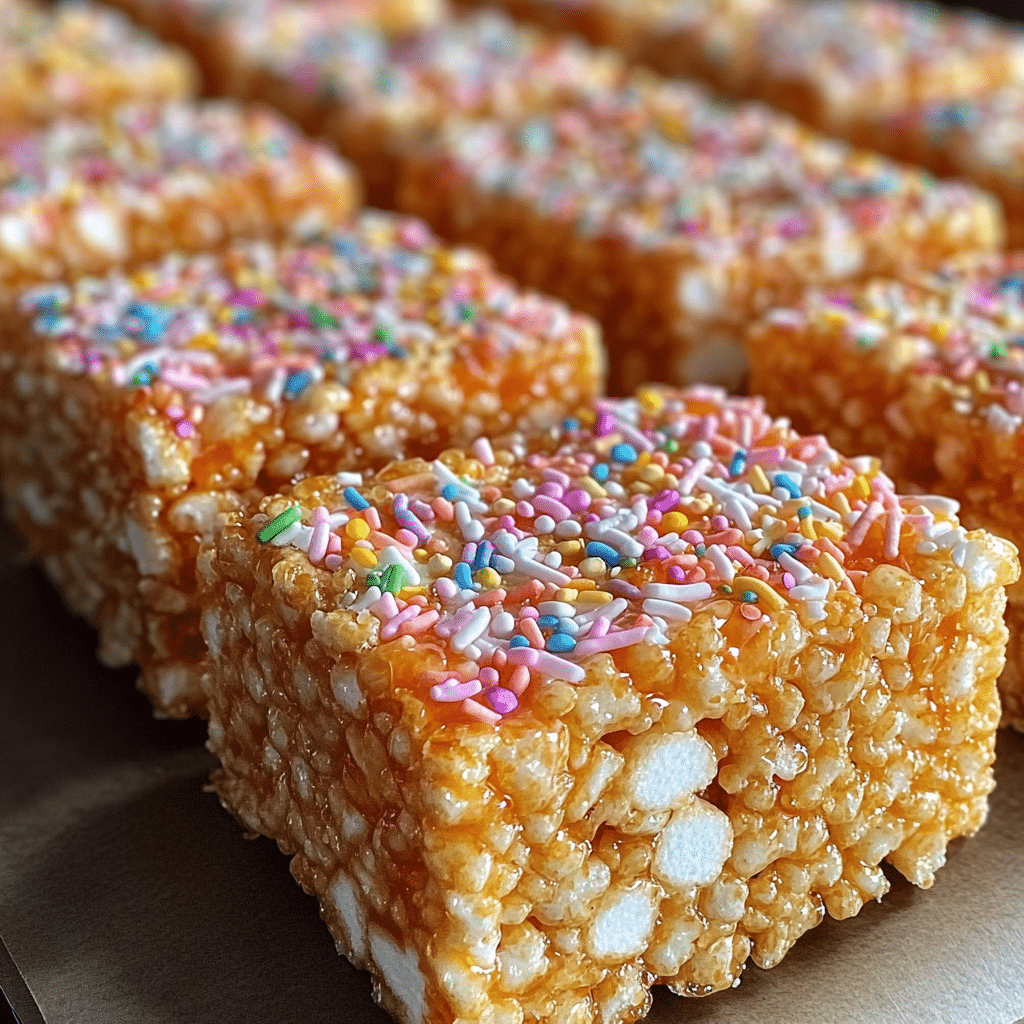
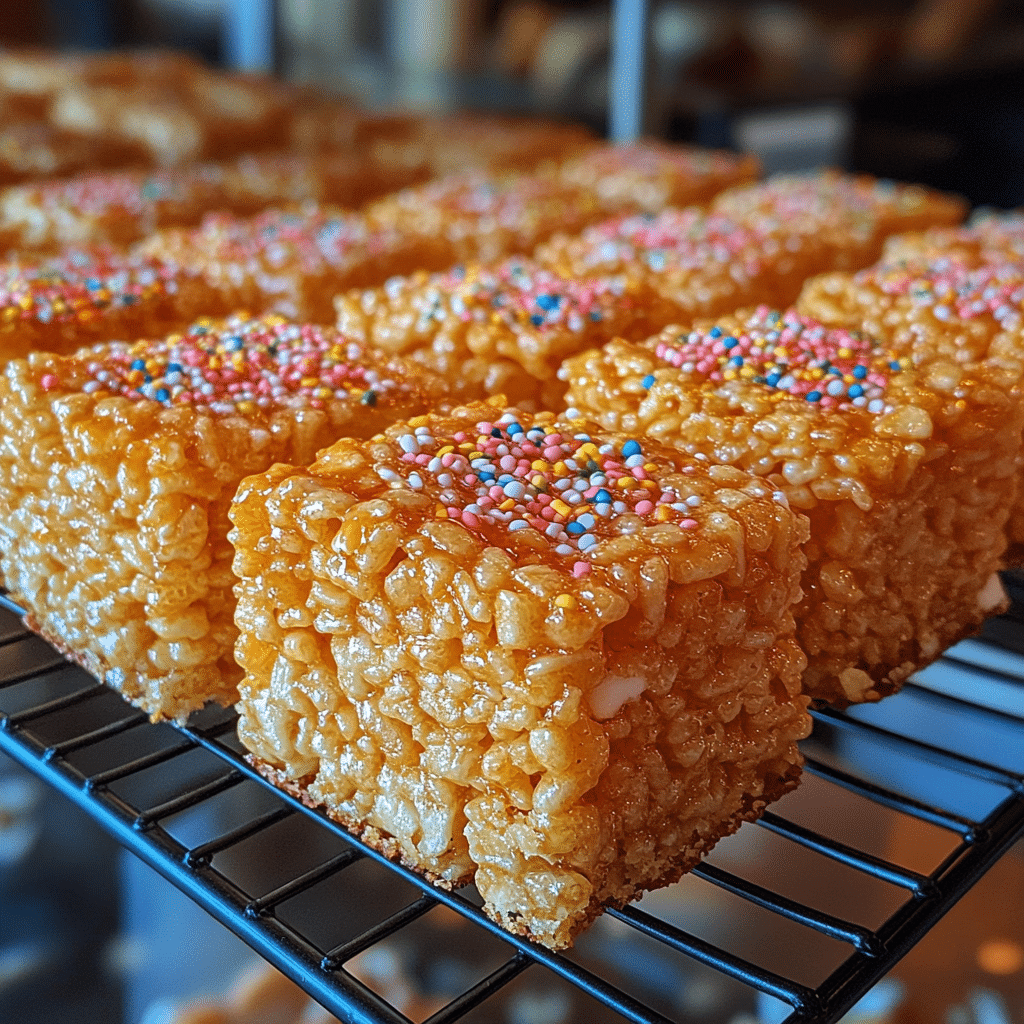
- Visually Appealing: With their golden hue and customizable toppings, they look as good as they taste.
The Secret to Perfect Rice Krispie Treats
The secret to achieving perfect Rice Krispie Treats lies in the marshmallow-to-cereal ratio and the temperature at which you melt the marshmallows. When you melt the marshmallows, be sure to do it over low heat. This prevents them from burning and ensures they remain soft and gooey. Stir them gently until they’re just melted, and then mix in your Rice Krispies. This step is crucial because overmixing can lead to tough treats. Trust me, with this technique, you’ll be a Rice Krispie Treat pro in no time!
Rave Reviews from Friends and Followers
“These Rice Krispie Treats are the best I’ve ever had! The texture is perfect, and they disappeared in minutes at our family gathering!”
– Sarah M.
“I made these for my kids’ bake sale, and they were a huge hit! I can’t believe how easy they were to make!”
– Jason W.
“I added some chocolate chips to my batch, and it took them to the next level! This recipe is a keeper!”
– Emily R.
Creative Variations to Try
- Chocolate Chip Rice Krispie Treats: Add a cup of mini chocolate chips to the mixture for a delightful chocolatey twist.
- Peanut Butter Rice Krispie Treats: Stir in 1/2 cup of peanut butter with the marshmallows for a nutty flavor.
- Sprinkle Surprise: Mix in colorful sprinkles for a fun, festive look that’s perfect for birthdays.
- Dried Fruit Delight: Incorporate chopped dried fruits like cranberries or apricots for a chewy texture and natural sweetness.
- Bonus: Drizzle melted chocolate over the top for an elegant finish that adds both flavor and a beautiful presentation!
FAQs – All Your Questions Answered!
Can I use a different type of cereal?
Absolutely! While Rice Krispies are traditional, you can experiment with any puffed cereal, like Corn Pops or even Cheerios, for a unique twist.
How do I store leftover Rice Krispie Treats?
Store them in an airtight container at room temperature for up to a week. If they start to harden, you can microwave them for a few seconds to soften.
Can I make these ahead of time?
Yes! You can make these treats a day or two in advance. Just be sure to store them properly to keep them fresh.
What can I do if my treats are too sticky?
If your Rice Krispie Treats are too sticky, you may have used too many marshmallows or not stirred them enough. Try reducing the marshmallow amount next time or mixing them less.
Can I freeze Rice Krispie Treats?
Yes! Wrap them tightly in plastic wrap and place them in an airtight container. They will last for up to 3 months in the freezer. Just thaw at room temperature when you’re ready to enjoy!
Storage/Serving Tips
- Store in an airtight container to maintain freshness.
- Best enjoyed within a week for optimal chewiness.
- Cut into squares for easy serving, or use cookie cutters for fun shapes!
Perfect Occasions for Rice Krispie Treats
- Birthday parties where kids (and adults) can’t resist a sweet treat.
- School bake sales, where these easy desserts are sure to be a hit.
- Family gatherings or picnics for a fun and nostalgic dessert.
- Movie nights at home for a chewy snack while you watch your favorite films.
- Holiday celebrations like Christmas or Halloween, where you can customize them with festive decorations.
- After-school snacks that kids will love and parents will appreciate for being easy to make!
The Complete Recipe
Thank you for sticking with me! Now, let’s get to the good stuff—the recipe!
Rice Krispie Treats
Ingredients
- 3 tablespoons unsalted butter
- 1 package (10 oz) mini marshmallows
- 6 cups Rice Krispies cereal
- 1/2 teaspoon vanilla extract (optional)
- Tip: For an extra layer of flavor, try using flavored marshmallows or adding a sprinkle of salt for balance!
Extend ingredients section: If you want to mix things up, consider adding 1/4 cup of chocolate chips, or swap out some of the Rice Krispies for crushed graham crackers for a s’mores-inspired treat. Each ingredient plays a crucial role in giving these treats their iconic flavor and texture.
Step-by-Step Instructions
Step 1: Melt the Butter
In a large saucepan, melt the butter over low heat. Keep stirring as it melts to ensure it doesn’t burn. This step sets the foundation for a creamy, buttery flavor that enhances your treats.
Step 2: Add the Marshmallows
Once the butter is melted, add the marshmallows (and vanilla extract if using) to the pan. Stir gently until they’re completely melted and smooth. This is where the magic happens, and the sweet aroma fills your kitchen!
Step 3: Mix in the Rice Krispies
Remove the pan from heat and add the Rice Krispies cereal. Stir until all the cereal is coated with the marshmallow mixture. Be careful not to overmix; you want the treats to be chewy, not tough!
Step 4: Press into the Pan
Grease a 9×13-inch baking dish with butter or non-stick spray. Pour the mixture into the dish and use a spatula or wax paper to press it down evenly. This helps create perfectly shaped squares that hold their form.
Step 5: Let Them Cool
Allow the treats to cool at room temperature for about 30 minutes. Once they’re set, cut them into squares or rectangles. The anticipation will be worth it when you take that first bite!
Nutrition Info: Each Rice Krispie Treat is approximately 90 calories, depending on your specific measurements and any modifications you make.
Extend instructions: For a fun presentation, consider drizzling melted chocolate on top or sprinkling with colored sugar for a festive touch. You can also press in extra toppings,
Related Recipes You’ll Love :


