
If you’re anything like me, the holiday season brings a wave of nostalgia and excitement, especially when it comes to baking! One of my absolute favorite traditions is whipping up a batch of Classic Gingerbread Cookies. Trust me, I’ve made this recipe countless times, and it never fails to fill my home with the warm, inviting scents of cinnamon, ginger, and a hint of molasses. Each time I bake them, I can’t help but feel a rush of joy as I watch family and friends gather around, eagerly waiting for a taste. So, if you’re ready to create cookies that are not just delicious, but also stunningly beautiful, let’s dive right in!
Why You’ll Love This Classic Gingerbread Cookies
- Easy to Make: This recipe is straightforward and perfect for bakers of all skill levels.
- Versatile Flavors: You can play around with spices and decorations to make them your own.
- Deliciously Spiced: The combination of ginger, cinnamon, and cloves creates a flavor that’s simply irresistible.
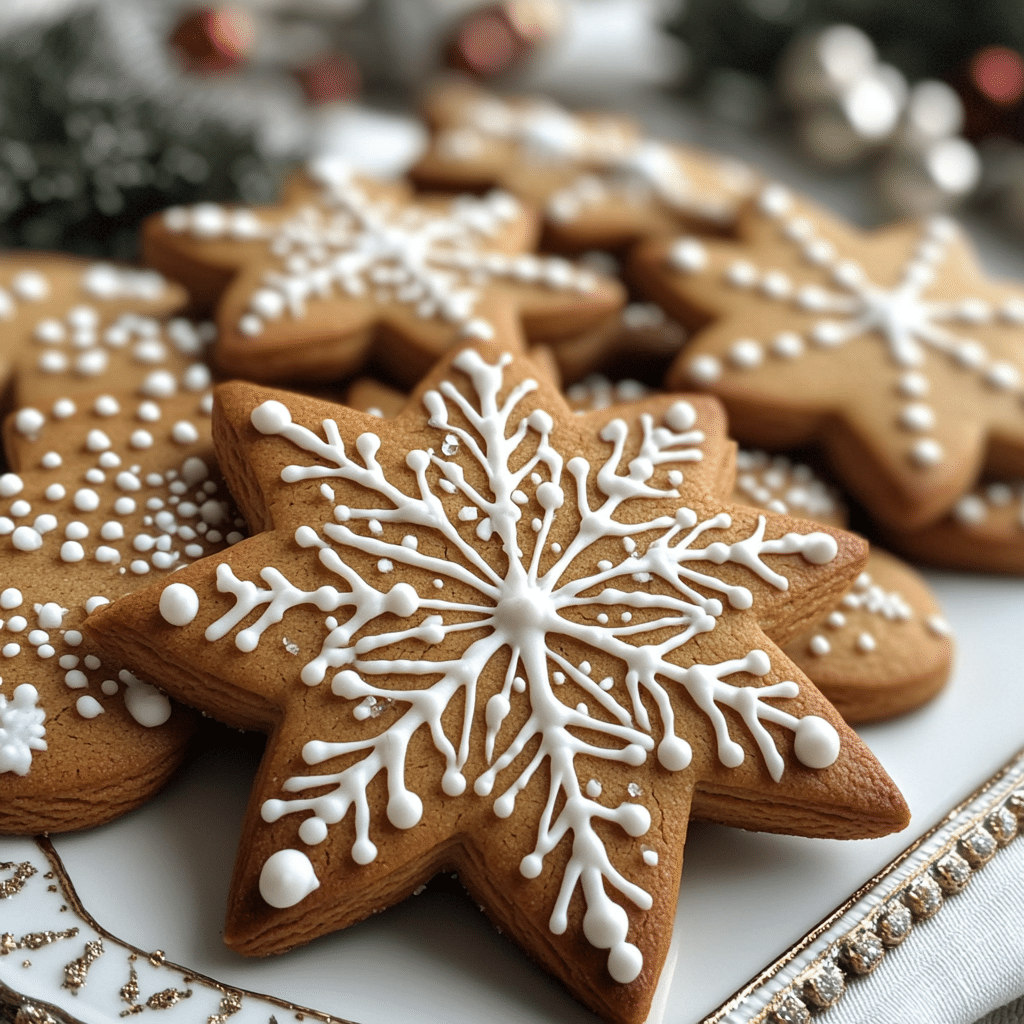
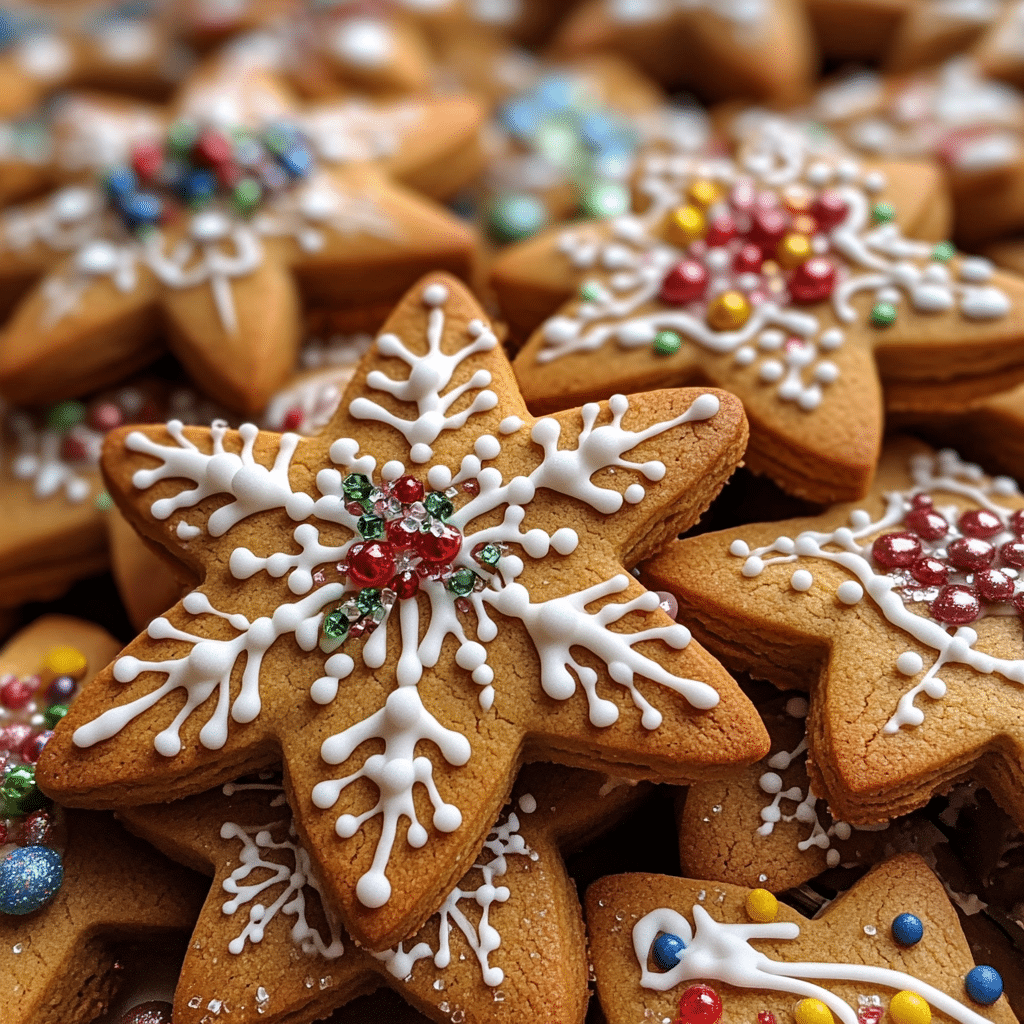
- Visually Stunning: Decorate them with icing, and they become a festive centerpiece.
- Make-Ahead Convenience: You can prepare the dough in advance and bake them when you’re ready.
The Secret to Perfect Classic Gingerbread Cookies
The secret to achieving perfect Classic Gingerbread Cookies lies in the balance of spices and the chilling of the dough. Trust me, chilling the dough is a game-changer! It helps the flavors meld beautifully and makes it easier to roll out the dough. Additionally, using fresh spices can elevate the flavors to a whole new level, ensuring that your cookies are bursting with that authentic gingerbread taste. Don’t worry if you’re new to baking—this recipe is forgiving, and with a little patience, you’ll be a gingerbread pro in no time!
Rave Reviews from Friends and Followers
“These cookies are to die for! They were a hit at my holiday party, and everyone kept asking for the recipe!” – Sarah M.
“I’ve never had gingerbread cookies this good! The spices are just right, and they look amazing.” – Tom R.
“This recipe is a keeper! I’ve made it twice already, and my kids love decorating them.” – Lisa K.
Creative Variations to Try
- Chocolate Gingerbread: Add cocoa powder to the dough for a rich twist.
- Maple Gingerbread: Substitute maple syrup for molasses for a unique flavor.
- Citrus Zest: Add orange or lemon zest for a refreshing zing!
- Nuts and Dried Fruits: Incorporate chopped walnuts or cranberries for texture.
Bonus: For an extra festive touch, try using cookie cutters in fun shapes like stars and trees!
FAQs – All Your Questions Answered!
Can I freeze the cookie dough?
Absolutely! You can freeze the dough for up to three months. Just wrap it tightly in plastic wrap and store it in an airtight container.
How do I store the baked cookies?
Store your Classic Gingerbread Cookies in an airtight container at room temperature. They’ll stay fresh for about a week!
What can I substitute for molasses?
If you don’t have molasses, dark corn syrup can work as a substitute, but it will alter the flavor slightly.
What if my dough is too crumbly?
If your dough is crumbly, add a teaspoon of water or milk at a time until it comes together. Remember, the dough should be firm but pliable.
Storage/Serving Tips
- Store in an airtight container for optimal freshness.
- They can last up to a week at room temperature.
- For longer storage, consider freezing the baked cookies.
- Serve with warm cider or hot cocoa for a delightful treat!
Perfect Occasions for Classic Gingerbread Cookies
- Holiday parties and gatherings
- Cookie decorating parties with kids
- Gifts for neighbors and friends
- Festive cookie exchanges
- Winter celebrations and events
The Complete Recipe
Thank you for joining me on this delicious journey! Now, let’s get to the recipe so you can start baking these delightful Classic Gingerbread Cookies!
Classic Gingerbread Cookies
Ingredients
- 3 ¼ cups all-purpose flour
- 1 teaspoon baking soda
- 1 tablespoon ground ginger
- 1 tablespoon ground cinnamon
- ½ teaspoon ground cloves
- ½ teaspoon salt
- 1 cup unsalted butter, softened
- 1 cup brown sugar, packed
- 1 large egg
- 1 cup unsulfured molasses
Tip: For the best flavor, use fresh spices, and make sure your butter is at room temperature for easy mixing.
Extend ingredients section: Feel free to add ½ cup of chopped nuts or dried fruits for a unique texture. If you’re looking for a gluten-free option, substitute the all-purpose flour with a gluten-free blend, but check that it contains xanthan gum for the right texture.
Step-by-Step Instructions
Step 1: Prepare Your Ingredients
Gather all your ingredients and preheat your oven to 350°F (175°C). This step is super important as it ensures even baking. Measuring your ingredients accurately will also make a huge difference in the final outcome, so take your time here!
Step 2: Mix the Dry Ingredients
In a medium bowl, whisk together the flour, baking soda, ginger, cinnamon, cloves, and salt. This step is crucial as it helps to evenly distribute the baking soda and spices throughout the dough, ensuring every bite is full of flavor!
Step 3: Cream the Butter and Sugar
In a large bowl, beat the softened butter and brown sugar together until light and fluffy. This should take about 3-5 minutes. The fluffiness is key to getting a nice texture in your cookies, so don’t rush this step!
Step 4: Add Egg and Molasses
Beat in the egg and molasses until well combined. The molasses adds a beautiful depth of flavor and a lovely color to your cookies. If you’ve never worked with molasses before, you’ll love how it transforms the dough!
Step 5: Combine Wet and Dry Ingredients
Gradually add the dry mixture to the wet ingredients, mixing until just combined. Avoid over-mixing to keep your cookies tender. You’ll notice the dough becoming thicker and more aromatic—this is where the magic happens!
Step 6: Chill the Dough
Wrap the dough in plastic wrap and chill it in the refrigerator for at least 2 hours (or overnight if you can wait!). This step is essential for easy rolling and shaping. The longer it chills, the better the flavors meld together.
Step 7: Roll and Cut
Once chilled, roll out the dough on a floured surface to about ¼ inch thick. Use cookie cutters to create fun shapes. The dough should be firm but not too hard—if it’s too sticky, sprinkle a little more flour on your surface.
Step 8: Bake to Perfection
Place the cookies on a baking sheet lined with parchment paper and bake for 8-10 minutes or until the edges are just set. Keep an eye on them, as every oven
Related Recipes You’ll Love :


