
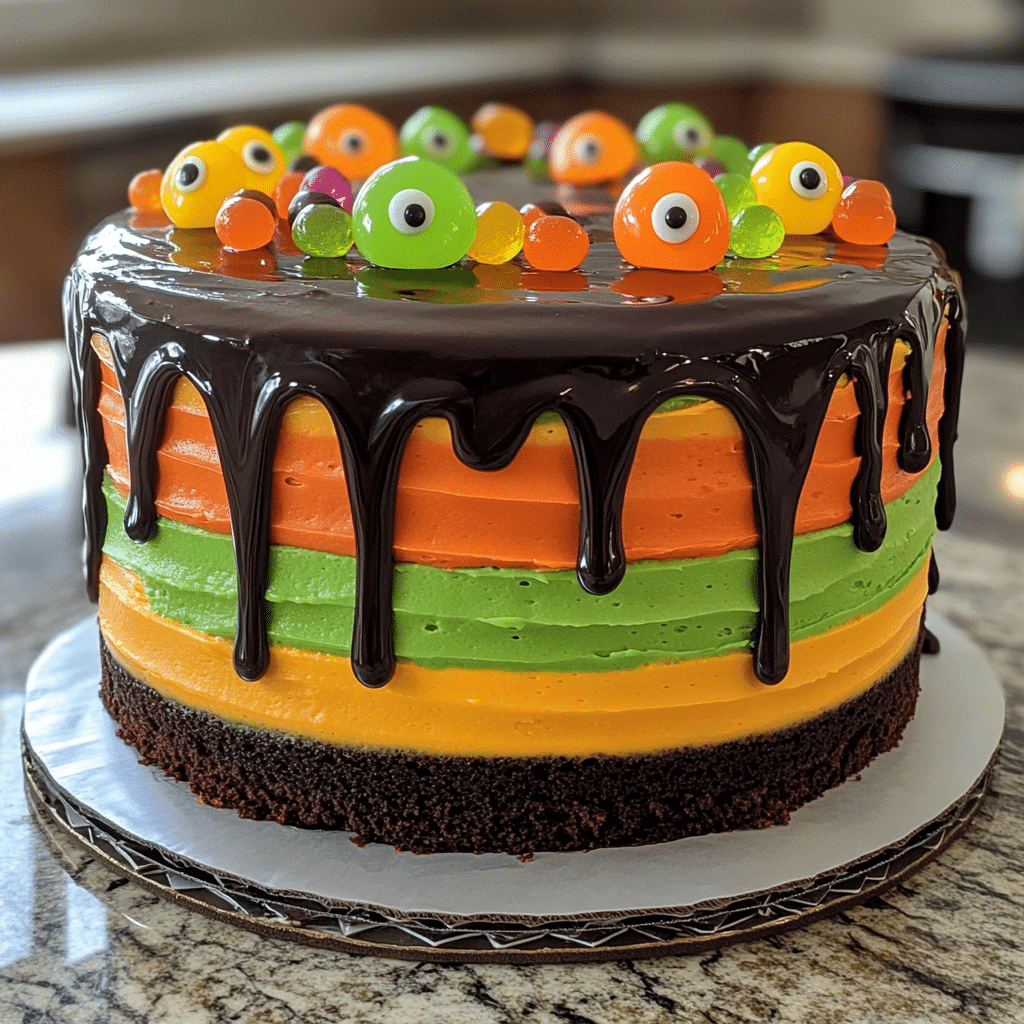
Let me tell you about one of my all-time favorite Halloween treats: the Halloween Slash Cake! I can’t even count how many times I’ve made this delightful dessert, but every time it never fails to impress my friends and family. It’s a total game-changer for Halloween parties! This cake is not just about taste; it’s a showstopper that will leave your guests talking long after the last slice is gone. So, if you’re ready to create some spooktacular moments in your kitchen, let’s dive into the deliciousness that is the Halloween Slash Cake!
Why You’ll Love This Halloween Slash Cake
- Easy to Make: No baking experience? No problem! This recipe is simple enough for anyone to master.
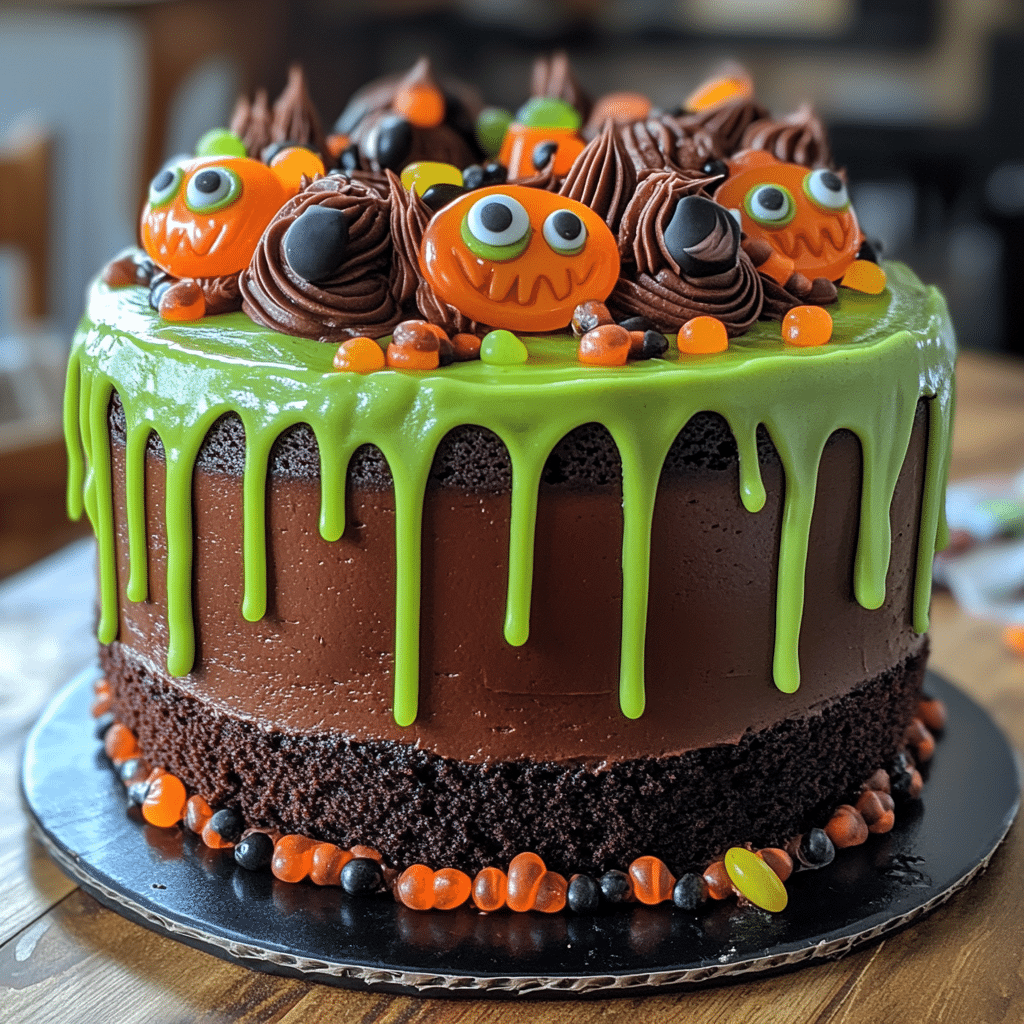
- Visually Stunning: The vibrant colors and spooky design will steal the show at any Halloween gathering.
- Deliciously Flavorful: With rich chocolate and creamy frosting, each bite is a heavenly experience.
- Versatile: You can customize it with different flavors or decorations based on your preferences!
- Make-Ahead Convenience: Bake it a day or two in advance, so you can focus on the fun part of your Halloween party!
The Secret to Perfect Halloween Slash Cake
The secret to achieving a perfect Halloween Slash Cake lies in the use of high-quality cocoa powder and a splash of vanilla extract. Trust me, these ingredients elevate the cake’s flavor to a whole new level! Another insider tip is to allow your cake layers to cool completely before frosting them. This prevents the frosting from melting and ensures a beautifully layered cake. Don’t be intimidated; you’ve got this! With just a few simple tricks, anyone can create this stunning dessert.
Rave Reviews from Friends and Followers
“I made the Halloween Slash Cake for my kids’ party, and it was a total hit! Everyone loved the spooky design, and it tasted amazing!” – Sarah L.
“This cake is a must-try! I was so impressed with how easy it was to make, and my guests were blown away!” – Kevin M.
“I’ve baked a lot, but this Halloween Slash Cake has become my new favorite! The flavors are incredible, and the presentation is just perfect!” – Lisa G.
Creative Variations to Try
- Spooky Vanilla Ghost Cake: Swap out the chocolate for vanilla cake and decorate with white frosting and ghostly designs.
- Pumpkin Spice Delight: Add pumpkin puree and spices for a festive twist that screams fall!
- Chocolate Mint Madness: Incorporate mint extract into the frosting for a refreshing taste that pairs beautifully with chocolate.
- Red Velvet Slash Cake: Switch to red velvet for a dramatic look and flavor that’s loved by many!
Bonus: For a fun surprise, try adding candy-filled layers! Hollow out a bit of cake and fill it with your favorite Halloween candies before stacking. It’s a delightful treat that no one will see coming!
FAQs – All Your Questions Answered!
Can I make the cake ahead of time? Absolutely! You can bake the cake a day or two in advance. Just store the layers in an airtight container until you’re ready to frost and serve them.
What can I substitute for cocoa powder? If you’re looking for a substitute, you can use carob powder, but keep in mind that it will change the flavor slightly.
Can I use gluten-free flour? Yes! Just ensure that your gluten-free flour blend is a 1:1 substitute, and you’ll have a delightful gluten-free version of your Halloween Slash Cake!
How do I prevent the cake from sticking to the pan? Make sure to grease your cake pans well and consider lining the bottoms with parchment paper to ensure a smooth release.
Storage/Serving Tips
- Store leftover cake in an airtight container at room temperature for up to 3 days.
- You can refrigerate the cake for up to a week if you prefer it chilled.
- For longer storage, wrap slices individually in plastic wrap and freeze for up to 2 months.
- Serve with a scoop of vanilla ice cream or a drizzle of caramel sauce for an extra indulgent treat!
Perfect Occasions for Halloween Slash Cake
- Halloween parties with friends and family
- School celebrations or bake sales
- Costume parties for a spooky sweet touch
- Fall festivals and gatherings
- As a fun surprise treat for your kids after trick-or-treating
- Halloween movie nights with friends
- Office Halloween potlucks — this will be the talk of the break room!
The Complete Recipe
Thank you for sticking with me through this delicious journey! Now, let’s get to the fun part — the recipe for the Halloween Slash Cake!
Halloween Slash Cake
Ingredients
- 2 cups all-purpose flour
- 1 ¾ cups granulated sugar
- ¾ cup unsweetened cocoa powder
- 1 ½ teaspoons baking powder
- 1 ½ teaspoons baking soda
- 1 teaspoon salt
- 2 large eggs
- 1 cup whole milk
- ½ cup vegetable oil
- 2 teaspoons vanilla extract
- 1 cup boiling water
- 4 cups frosting of your choice (store-bought or homemade)
- Decorative candies for topping (like gummy worms or candy eyes)
Tip: Make sure your ingredients are at room temperature for the best mixing results!
Extend ingredients section:
- All-purpose flour: Essential for structure and stability.
- Cocoa powder: Use a high-quality brand for a rich chocolate flavor.
- Granulated sugar: Sweetens and helps create a tender crumb.
- Eggs: Bind the ingredients and add moisture.
- Vegetable oil: Keeps the cake moist and tender.
- Boiling water: Enhances the cocoa flavor and creates a deliciously moist cake.
Step-by-Step Instructions
Step 1: Preheat and Prepare
Preheat your oven to 350°F (175°C). Grease and flour two 9-inch round cake pans. This step is crucial; it helps ensure your cakes come out perfectly without sticking!
Step 2: Mix Dry Ingredients
In a large mixing bowl, whisk together the flour, sugar, cocoa powder, baking powder, baking soda, and salt until combined. This ensures even distribution of the leavening agents, leading to a perfectly risen cake!
Step 3: Add Wet Ingredients
Add the eggs, milk, vegetable oil, and vanilla extract to the dry ingredients. Mix on medium speed until well combined. Don’t be afraid to scrape down the sides of the bowl to ensure everything is mixed evenly!
Step 4: Incorporate Boiling Water
Carefully stir in the boiling water. The batter will be thin, but that’s okay! This step is key for creating a moist cake texture. Trust the process!
Step 5: Bake the Cakes
Pour the batter evenly into the prepared cake pans. Bake for 30-35 minutes, or until a toothpick inserted in the center comes out clean. Your kitchen will smell heavenly at this point!
Step 6: Cool the Cakes
Once baked, remove the cakes from the oven and let them cool in the pans for 10 minutes. Then, transfer them to a wire rack to cool completely. This is where patience pays off!
Step 7: Frost and Decorate
Related Recipes You’ll Love :


