
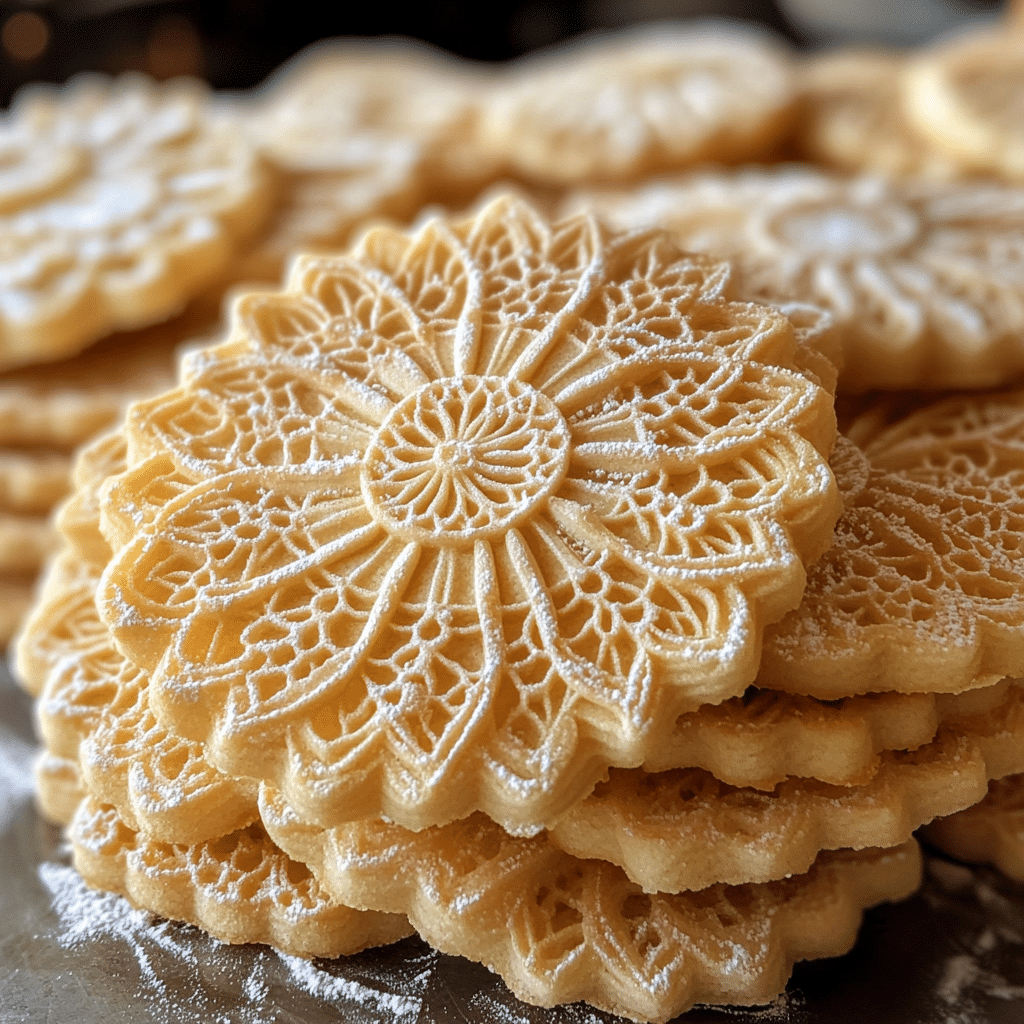
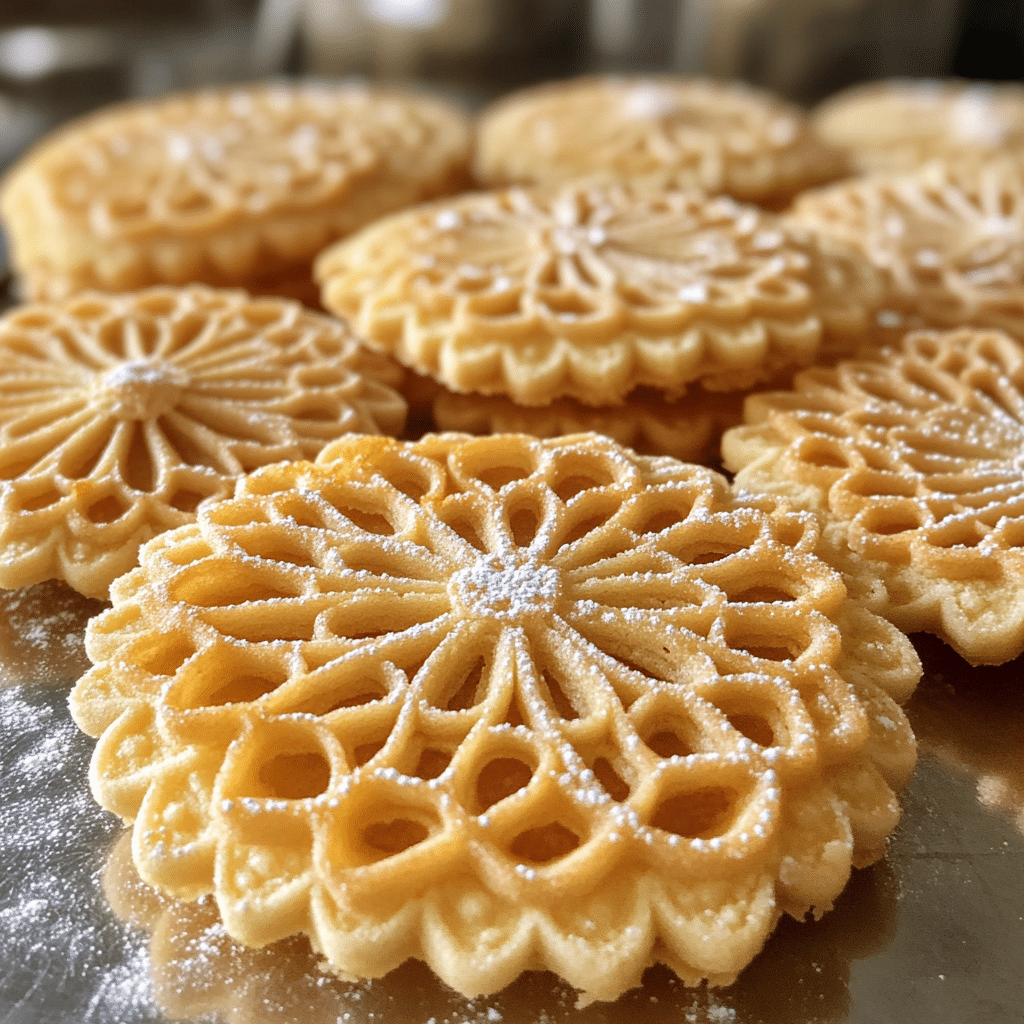
Have you ever stumbled upon a recipe that just takes your breath away? That was me when I first made Italian Pizzelle Cookies! I remember the moment vividly—my kitchen was filled with the tantalizing aroma of vanilla and citrus zest, and I couldn’t wait to take that first bite. Trust me, I’ve made this recipe countless times, and every single time, it’s a hit! These cookies are not only delicious but also a showstopper at any gathering. Let’s dive into this delightful recipe that will whisk you away to Italy with every crispy bite!
Why You’ll Love This Italian Pizzelle Cookies
- Irresistible Crunch: Each bite is a delightful crunch that will leave you wanting more.
- Visual Appeal: The intricate designs of these cookies make them a stunning addition to any dessert table.
- Quick and Easy: With simple ingredients and straightforward steps, you’ll have these cookies ready in no time.
- Versatile Flavor: The addition of citrus zest elevates the traditional recipe, making it refreshingly unique.
- Make-Ahead Convenience: These cookies can be made in advance, perfect for busy bakers!
The Secret to Perfect Italian Pizzelle Cookies
The magic of Italian Pizzelle Cookies lies in the quality of the ingredients and the pizzelle maker itself. Trust me, investing in a good pizzelle iron is a game-changer! The key is to get the batter to the right consistency—smooth but not runny. This ensures those beautiful designs will hold up perfectly when cooked. A little tip from my kitchen: let the batter sit for about 10 minutes before cooking. This helps the flavors meld beautifully, creating a cookie that is crispy on the outside and tender on the inside. You can totally do this!
Rave Reviews from Friends and Followers
“These Pizzelle Cookies are a revelation! The citrus zest adds such a fresh twist. I served them at my family gathering, and they were gone in minutes!” – Sarah K.
“I never knew how easy it was to make homemade cookies until I tried this recipe! They turned out perfectly crispy and oh-so-delicious!” – Mark T.
“I made these for my book club, and they were a huge hit! The compliments just kept coming, and I can’t wait to make them again!” – Jenna L.
Creative Variations to Try
- Chocolate-Dipped Pizzelle: Melt some chocolate and dip half of the cookie for an extra indulgent treat.
- Almond Extract: Swap out vanilla for almond extract for a nutty flavor that pairs perfectly with citrus.
- Matcha Pizzelle: Add matcha powder for a unique twist and a beautiful green hue.
- Cinnamon Sugar Dusting: After cooking, dust the cookies with cinnamon sugar for a cozy, spiced flavor.
Bonus: Don’t be afraid to experiment! A dash of your favorite liqueur can add a delightful depth of flavor.
FAQs – All Your Questions Answered!
Can I store these cookies, and how long do they last?
Absolutely! Store them in an airtight container at room temperature for up to two weeks. If you want to keep them longer, they can be frozen for up to 3 months.
What can I use instead of eggs?
If you’re looking for an egg substitute, you can use 1/4 cup of unsweetened applesauce or a flaxseed egg (1 tablespoon of flaxseed meal mixed with 2.5 tablespoons of water). This will help maintain the texture and moisture.
How can I troubleshoot if my cookies aren’t crispy?
If your Pizzelle cookies aren’t crispy, it may be due to too much moisture in the batter. Make sure to measure your ingredients accurately and let the batter sit as suggested!
Can I make these without a pizzelle maker?
While a pizzelle maker is ideal, you can use a regular waffle iron, though the texture and shape will differ slightly. Just be sure to adjust the cooking time!
Storage/Serving Tips
- Store in an airtight container to keep them fresh and crispy.
- For best flavor, serve them within one week of baking.
- Pair with coffee or tea for a delightful afternoon treat.
- Consider drizzling with melted chocolate or dusting with powdered sugar for an elegant presentation.
Perfect Occasions for Italian Pizzelle Cookies
- Holiday gatherings—these cookies are a festive treat!
- Bridal showers or weddings where you want to impress guests.
- Family reunions, where everyone will gather around the cookie platter.
- Book clubs or coffee dates—perfect for sharing!
- Potlucks, where they will surely be the star of the dessert table.
The Complete Recipe
Thank you for sticking with me! Now, let’s get to the good stuff—the recipe for these scrumptious Italian Pizzelle Cookies!
Italian Pizzelle Cookies
Ingredients
- 3 large eggs
- 3/4 cup granulated sugar
- 1/2 cup unsalted butter, melted
- 1 teaspoon vanilla extract
- 1 teaspoon almond extract (optional)
- 1 3/4 cups all-purpose flour
- 1 tablespoon baking powder
- Zest of 1 lemon or orange
- Pinch of salt
Tip: Make sure to zest the citrus fruits just before using them to capture their oils for maximum flavor!
Optional Add-Ins: Chopped nuts, such as hazelnuts or pistachios, can add a delightful crunch.
Step-by-Step Instructions
Step 1: Whisk the Wet Ingredients
In a large mixing bowl, whisk together the eggs and sugar until the mixture is light and fluffy. This is crucial for a light texture. The more air you incorporate here, the better your cookies will rise!
Step 2: Add the Butter and Extracts
Next, slowly mix in the melted butter, vanilla extract, and almond extract if you’re using it. The butter adds richness, and the extracts bring a wonderful aroma that you’ll love!
Step 3: Combine Dry Ingredients
In a separate bowl, sift together the flour, baking powder, and salt. Gradually add this to the wet ingredients, mixing gently until just combined. Be careful not to overmix; a gentle fold will keep your cookies light and airy.
Step 4: Add the Zest
Stir in the citrus zest. This is where the magic happens! The zest will infuse your cookies with bright flavor, making them utterly irresistible. Trust me; you’ll want to include this step!
Step 5: Preheat and Prepare the Pizzelle Iron
Preheat your pizzelle maker according to the manufacturer’s instructions. Lightly grease it if recommended. Once it’s hot, it’s time to start cooking!
Step 6: Cook the Cookies
Drop about a tablespoon of batter onto the center of the pizzelle maker. Close the lid and cook for about 30-60 seconds, or until they are golden brown. The cooking time may vary based on your specific machine, so keep an eye on them!
Step 7: Cool and Enjoy!
Remove the cookies carefully and place them on a wire rack to cool. As they cool, they’ll firm up and get that perfect crunch. Don’t be surprised if you find yourself munching on one (or three) before they even hit the serving plate!
Nutrition Info: Each cookie has approximately 50 calories, depending on size and specific ingredients used. They are a delightful treat that won’t break the calorie bank!
Related Recipes You’ll Love :


