
There’s just something magical about the aroma of freshly baked cookies wafting through the house, isn’t there? I remember the first time I made Jam Thumbprint Cookies—I was transported back to my childhood, eagerly waiting for my mom to pull a warm batch from the oven. Trust me, I’ve made these cookies countless times, and they never fail to impress! Whether it’s a cozy family gathering or just a sweet treat for yourself, these cookies have become a staple in my kitchen. Let’s dive into why these cookies are the ultimate nostalgic treat that you can’t resist!
Why You’ll Love This Jam Thumbprint Cookies
- Easy to Make: With just a handful of ingredients, you can whip these up in no time.
- Versatile Flavors: Use your favorite jams or jellies to customize each batch.
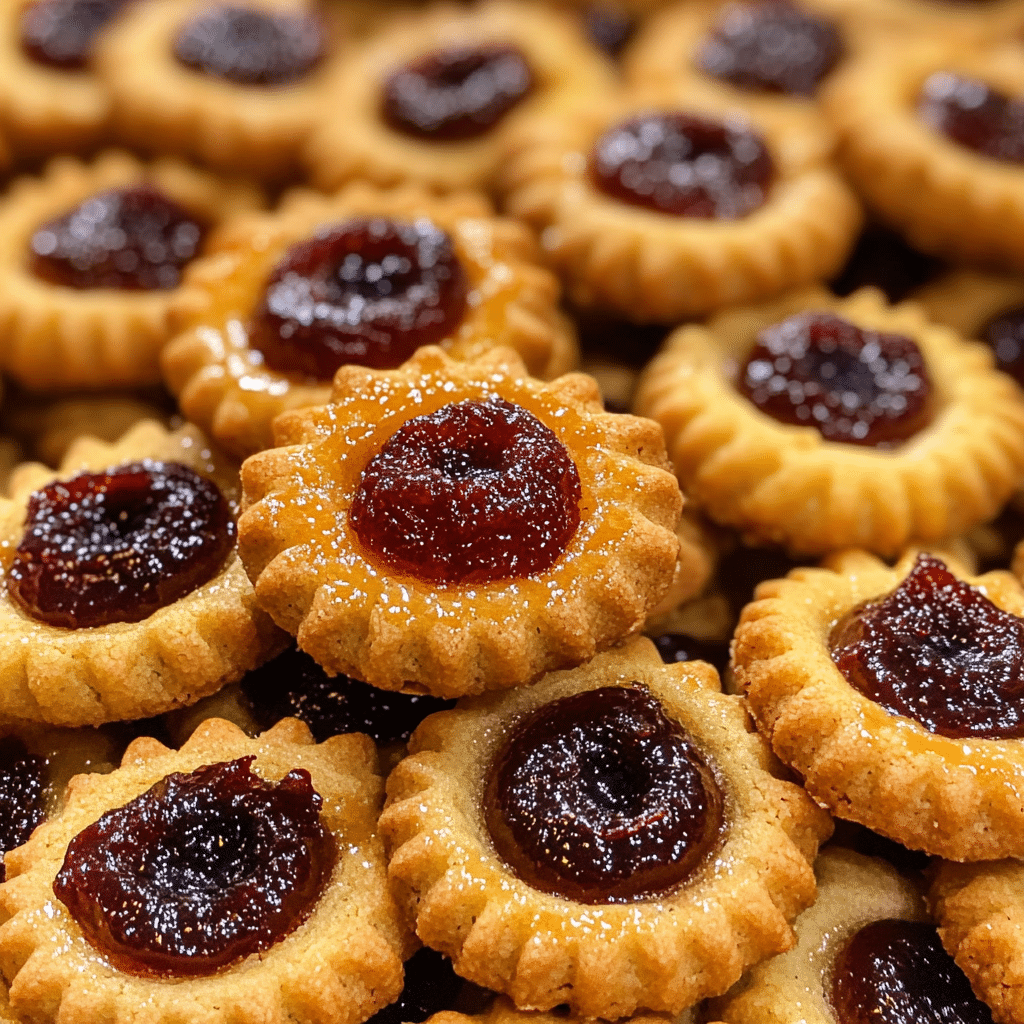
- Stunning Presentation: The thumbprint filled with vibrant jam makes them visually appealing.
- Make-Ahead Convenience: These cookies store well, making them perfect for prepping in advance.
- Deliciously Buttery: The melt-in-your-mouth texture paired with sweet jam is simply irresistible!
The Secret to Perfect Jam Thumbprint Cookies
The key to achieving that perfect, melt-in-your-mouth texture lies in the butter. Use high-quality, unsalted butter and allow it to come to room temperature. This simple step enables the butter to cream beautifully with the sugar, creating a light and airy dough. Trust me, this is a game-changer! Another insider tip? When you create the thumbprint, don’t be shy—make it deep enough to hold a generous dollop of jam. This ensures that each bite is packed with flavor!
Rave Reviews from Friends and Followers
“These Jam Thumbprint Cookies instantly took me back to my grandmother’s kitchen! Every bite is like a warm hug.” – Sarah L.
“I brought these to a potluck, and they disappeared in minutes! Everyone asked for the recipe.” – Mike T.
“I love how easy these are to make, and they look so fancy! Perfect for impressing guests.” – Jenna R.
Creative Variations to Try
- Chocolate Hazelnut Bliss: Swap out the jam for chocolate hazelnut spread for a decadent twist.
- Citrus Burst: Use lemon or orange curd instead of jam for a refreshing zing.
- Nutty Delight: Add finely chopped nuts or almond flour to the dough for extra texture.
- Spiced Autumn Treat: Mix in cinnamon and nutmeg to the dough for a cozy fall flavor.
Bonus: Try drizzling melted chocolate over the cookies after baking for an extra touch of indulgence!
FAQs – All Your Questions Answered!
How do I store Jam Thumbprint Cookies?
Keep them in an airtight container at room temperature for up to a week, or freeze them for longer storage.
Can I substitute the butter?
Yes! You can use margarine, but for the best flavor and texture, I recommend sticking with butter.
What kind of jam works best?
Any jam or jelly you love will work! Some favorites include raspberry, apricot, and strawberry.
My cookies spread too much while baking. What happened?
Make sure your butter is at room temperature, not melted, and chill the dough for 30 minutes before baking.
Storage/Serving Tips
- Store in an airtight container to keep them fresh.
- They can last up to a week at room temperature and up to three months in the freezer.
- Serve them with a cup of tea or coffee for a delightful afternoon treat!
Perfect Occasions for Jam Thumbprint Cookies
- Family gatherings and reunions
- Holiday cookie exchanges
- Birthday parties
- Picnics and outdoor events
- Afternoon tea with friends
- Just because you need a sweet treat!
The Complete Recipe
Thank you for sticking with me through this delicious journey! Now, let’s get to the mouthwatering recipe for Jam Thumbprint Cookies. You’ll be making these over and over again!
Jam Thumbprint Cookies

Ingredients
- 1 cup unsalted butter, softened
- 1/2 cup granulated sugar
- 2 cups all-purpose flour
- 1 teaspoon vanilla extract
- 1/4 teaspoon salt
- Your choice of jam or jelly (about 1/2 cup)
Tip: For a fun twist, feel free to mix in some finely chopped nuts or even a bit of almond extract for a unique flavor profile!
Step-by-Step Instructions
Step 1: Preheat the Oven
Preheat your oven to 350°F (175°C). This is crucial for ensuring your cookies bake evenly and achieve that perfect golden-brown color.
Step 2: Cream the Butter and Sugar
In a mixing bowl, cream together the softened butter and granulated sugar until light and fluffy—about 3-5 minutes. This step is essential for creating that airy texture that we all love in cookies.
Step 3: Add the Dry Ingredients
Gradually add in the flour and salt, mixing until just combined. Be careful not to overmix; a gentle hand helps keep the cookies tender.
Step 4: Form the Cookies
Scoop tablespoon-sized amounts of dough and roll them into balls. Place them on a lined baking sheet, leaving space between each cookie. Now comes the fun part! Use your thumb to create a small indentation in the center of each ball.
Step 5: Fill with Jam
Spoon a small amount of your favorite jam into each thumbprint. Don’t be shy—fill it generously! This is what makes each bite a burst of flavor.
Step 6: Bake to Perfection
Bake in the preheated oven for 12-15 minutes, or until the edges are lightly golden. Your kitchen will smell heavenly at this point, and you’ll be counting down the minutes!
Step 7: Cool and Enjoy
Allow the cookies to cool on the baking sheet for a few minutes before transferring them to a wire rack to cool completely. You might want to taste test one while they’re still warm—trust me, it’s heavenly!
Nutritional info per cookie: Approximately 120 calories, 7g fat, 12g carbs, 1g protein (varies by jam used).
Final Thoughts
There you have it! Jam Thumbprint Cookies are not just cookies; they’re a delightful trip down memory lane, bringing warmth and joy with every bite. I absolutely love making these, and I’m sure you will too! So gather your ingredients and get baking—these cookies are sure to become a cherished part of your dessert repertoire!
Related Recipes You’ll Love :


