

I can hardly contain my excitement as I share one of my absolute favorite recipes: White Chocolate Fudge! Trust me when I say this is a game-changer in the world of desserts. I’ve made this rich, creamy fudge countless times, and it never fails to impress my friends and family. The moment they take a bite, I can see their eyes light up, and that moment alone makes it all worth it! If you’re ready to indulge in something truly decadent, keep reading—this is one treat you won’t want to miss!
Why You’ll Love This White Chocolate Fudge
- Effortless to Make: You don’t need any special skills or equipment!
- Irresistibly Creamy: The velvety texture melts in your mouth.
- Versatile: Customize it with different flavors or toppings!
- Stunning Presentation: Looks elegant enough for any occasion.
- Make-Ahead Convenience: Perfect for prepping in advance for gatherings.
The Secret to Perfect White Chocolate Fudge
So, what’s my secret? It’s all about using high-quality white chocolate and ensuring you don’t overheat it. When I first started making White Chocolate Fudge, I learned the hard way that overheating can lead to a grainy texture. The trick is to melt it gently over a double boiler or in short bursts in the microwave. This technique guarantees a smooth, luscious fudge every time. Trust me, once you nail this, you’ll feel like a dessert wizard!
Rave Reviews from Friends and Followers
“This fudge is pure magic! I made it for a holiday party, and everyone asked for the recipe. It’s so easy and delicious!” — Sarah J.
“I’m in love with this White Chocolate Fudge. The texture is incredible, and it’s the perfect sweet treat!” — Mark T.
“I never knew making fudge could be this simple! This is now my go-to recipe for gifts and special occasions!” — Emily R.
Creative Variations to Try
- Nutty Delight: Add chopped walnuts or pecans for a crunchy twist.
- Mint Chocolate Chip: Mix in peppermint extract and chocolate chips for a refreshing take.
- Berry Bliss: Swirl in raspberry or strawberry puree for a fruity flavor.
- Cookie Dough Fudge: Incorporate edible cookie dough bits for a fun texture.
Bonus: For an even more decadent treat, drizzle melted dark chocolate on top before it sets!
FAQs – All Your Questions Answered!
Can I substitute regular chocolate for white chocolate?
While you can, the flavor and texture will differ significantly. White chocolate gives that creamy finish!
How should I store my fudge?
Keep it in an airtight container at room temperature for up to two weeks or refrigerate for longer freshness.
Can I freeze the fudge?
Absolutely! Just wrap it tightly in plastic wrap and then foil. It can last up to three months in the freezer.
What if my fudge doesn’t set properly?
If it’s too soft, you may not have cooked it long enough. You can return it to the pan and reheat gently, adding extra chocolate if needed.
Storage/Serving Tips
- Store in an airtight container to keep it fresh.
- For best flavor, let it sit for a day before serving—it only gets better!
- Cut into small squares to serve—trust me, a little goes a long way with this indulgence.
Perfect Occasions for White Chocolate Fudge
- Holiday gatherings or parties
- Gift-giving during the festive season
- Baby showers or bridal showers
- Cozy movie nights at home
- As a sweet treat for bake sales
- Celebrating a friend’s birthday
The Complete Recipe
Now that you’re all hyped up, let’s dive into the recipe! I’m so excited for you to try making this White Chocolate Fudge—it’s going to be a hit!
White Chocolate Fudge
Ingredients
- 2 cups high-quality white chocolate chips
- 1 can (14 ounces) sweetened condensed milk
- 1/4 cup unsalted butter
- 1 teaspoon vanilla extract
- Optional: 1/2 cup nuts or mix-ins of your choice
Tip: Always choose the best quality chocolate for the best taste. It truly makes a difference!
Extend ingredients section: You can substitute the sweetened condensed milk with evaporated milk for a slightly different flavor. This also works if you’re looking to reduce the sweetness a bit. For a richer taste, try adding a pinch of sea salt to balance the sweetness.
Step-by-Step Instructions
Step 1: Prepare Your Pan
Start by lining an 8×8-inch baking dish with parchment paper, leaving some overhang. This will make it super easy to lift the fudge out later. Prepping your pan is key to ensuring a beautiful presentation!
Step 2: Melt the Ingredients
In a medium saucepan over low heat, combine the white chocolate chips, sweetened condensed milk, and butter. Stir constantly until everything is melted and smooth. This is where the magic happens—watch as the ingredients meld into a creamy mixture!
Step 3: Add Flavor
Once melted, remove from the heat and stir in the vanilla extract. If you’re adding any mix-ins or nuts, fold them in gently now. The aroma will be heavenly, and you’ll want to dive right in!
Step 4: Pour and Set
Pour the fudge mixture into your prepared pan, spreading it evenly. Tap the pan gently on the counter to remove any air bubbles. Now, it’s time to let it set! Refrigerate for about 2 hours, or until firm. Patience is key here, but trust me, it’s worth it!
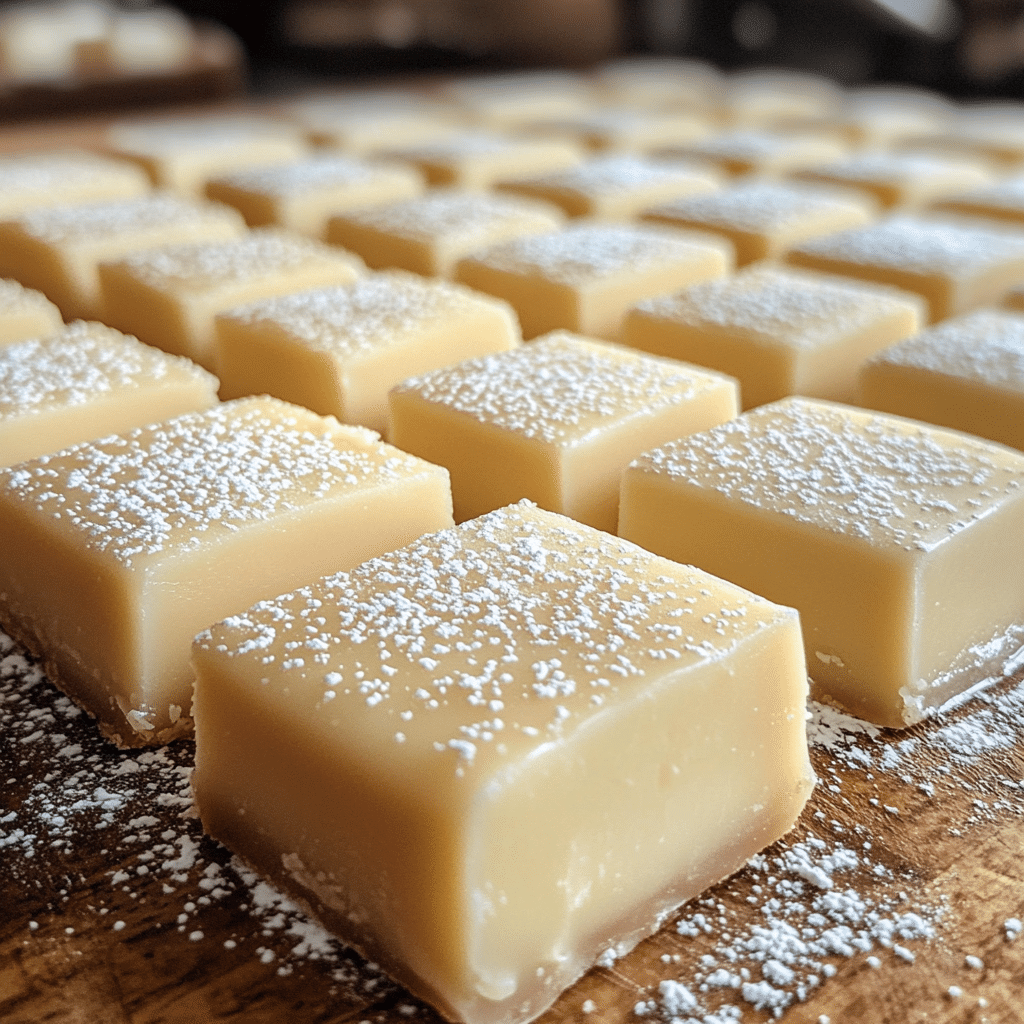
Step 5: Cut and Serve
Once set, lift the fudge out of the pan using the parchment overhang and cut it into squares. Serve it up to your friends and family, and watch their faces light up with joy! You can also dust it with powdered sugar for an extra touch of elegance.
Nutrition info: Each piece contains approximately 100 calories, making it a rich but satisfying treat.
Extend instructions: If you want to make your fudge look even more impressive, consider drizzling some melted chocolate on top or sprinkling with sea salt before it sets. These small touches elevate the presentation and flavor!
Final Thoughts
There you have it—my go-to recipe for White Chocolate Fudge that never disappoints! This treat is not just about satisfying your sweet tooth; it’s about creating joyful moments with loved ones. I can’t wait for you to try it and see how much you and your friends will love it. So grab your ingredients and let’s make some magic happen in the kitchen! Happy baking!
Related Recipes You’ll Love :


